Print on demand is not only for apparel. Tech accessories - phone cases, AirPods cases, laptop sleeves, desk mats - represent one of the strongest POD categories precisely because they combine practical daily utility with high perceived value. Customers expect to pay more for a phone case than for a plain tee, they use it every day, and they replace it every time they upgrade their device.
Podbase started producing tech accessories in 2015. In ten years, we have fulfilled over 15 million orders, launched 300+ customizable products, and watched sellers go from zero to seven-figure yearly revenue in the same category this guide covers. This is not a generic POD overview - it is a practical brand launch guide written from the inside of the tech accessories industry.
Why Tech Accessories Are a Stronger POD Category Than Apparel
Most POD guides treat all product categories as equivalent. They are not. Tech accessories have structural advantages that become clear once you understand the category from a production perspective.
The first advantage is demand density. Podbase CEO Saulius Meilutis explains the phone case market math: "If a new iPhone launches and there are millions of devices sold, just simply multiply it by 80% and you see what is the total addressable market for the phone case itself." Each new device launch creates a fresh demand event - buyers who already own cases need new ones, and new device buyers need their first. This cycle runs on a two-year clock, reliably.
The second advantage is product variety without sizing complexity. A single phone case design can ship in 50+ model variants without you managing a single size chart. Podbase Head of Product Development Justina explains: "There are hundreds of phones with a new one being released almost every month. To manufacture and store them all requires massive resources. That is where POD comes in handy - as demand for particular devices fades over time, Podbase also buys less and less material, so when the time comes to say goodbye to a particular product, we simply stop buying them."
The third advantage is cross-sell architecture. A phone case buyer is naturally adjacent to a screen protector, an AirPods case, a laptop sleeve, and a matching desk mat. CEO Saulius Meilutis describes the direction we are building toward: "We want to provide ways to not only increase average order value in tech accessories while offering additional upsells, but also expand by providing cross-sells from different categories - if you are buying a phone case, you can add a matching design poster as well."
These three dynamics - repeating demand, variant depth without size complexity, and cross-sell stack - make tech accessories a category where a focused brand can build compounding revenue in ways that apparel rarely allows at the same scale.
Pick the Right Products - Start Small, Expand With Data
A common mistake in starting a print on demand business is launching with too many SKUs before you have sales data. The product decisions that matter most are the ones made after you know what actually sells in your niche.
Start with one hero product:
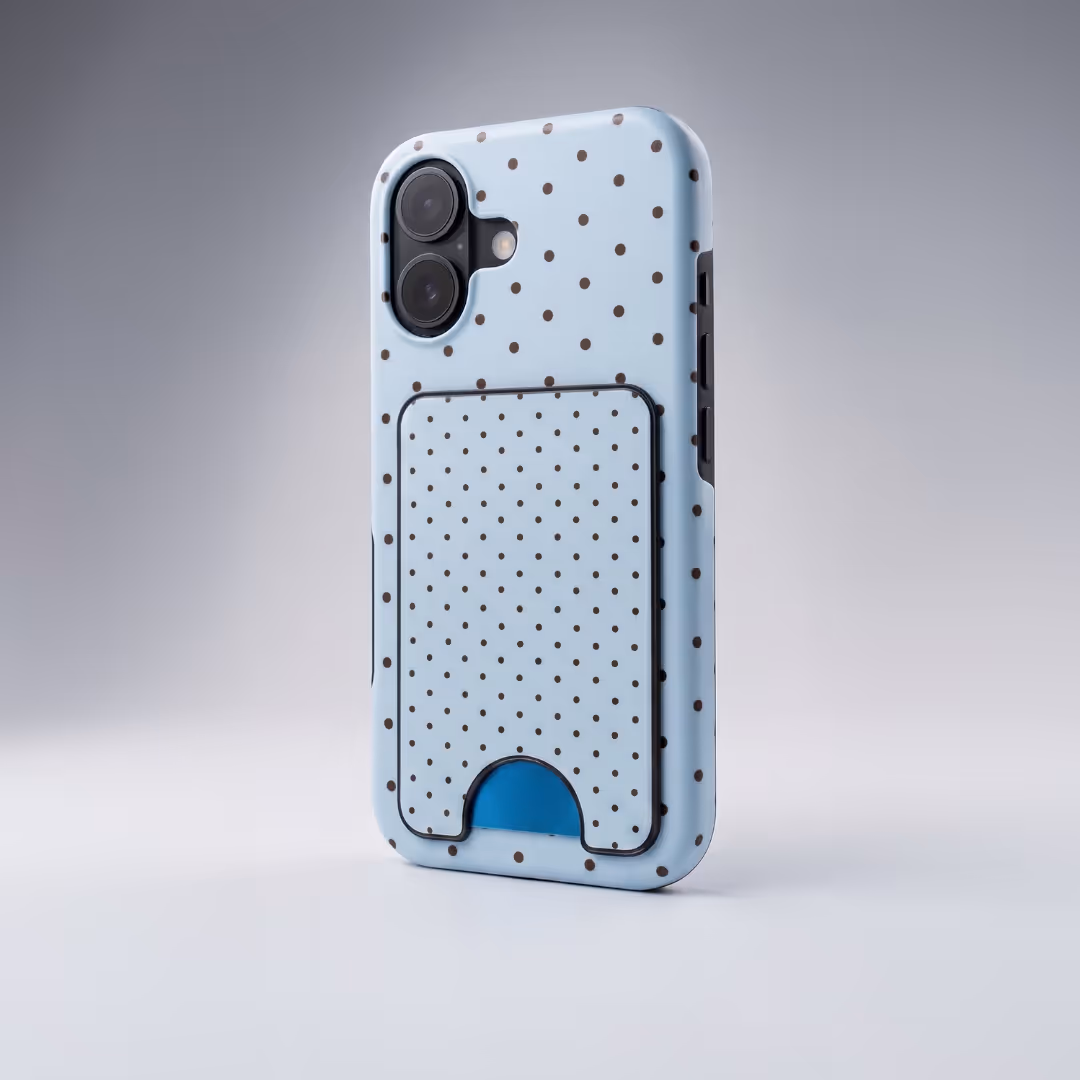
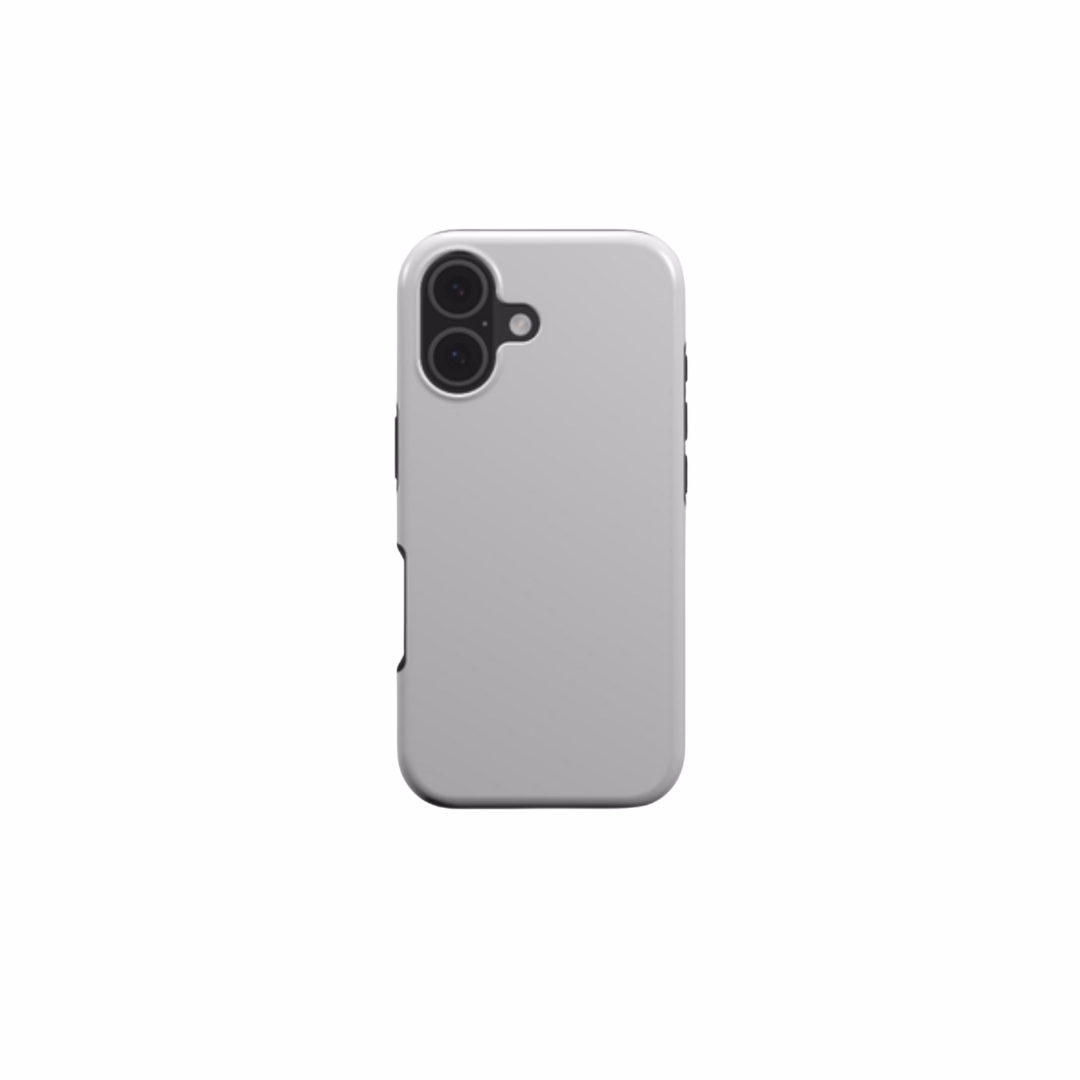
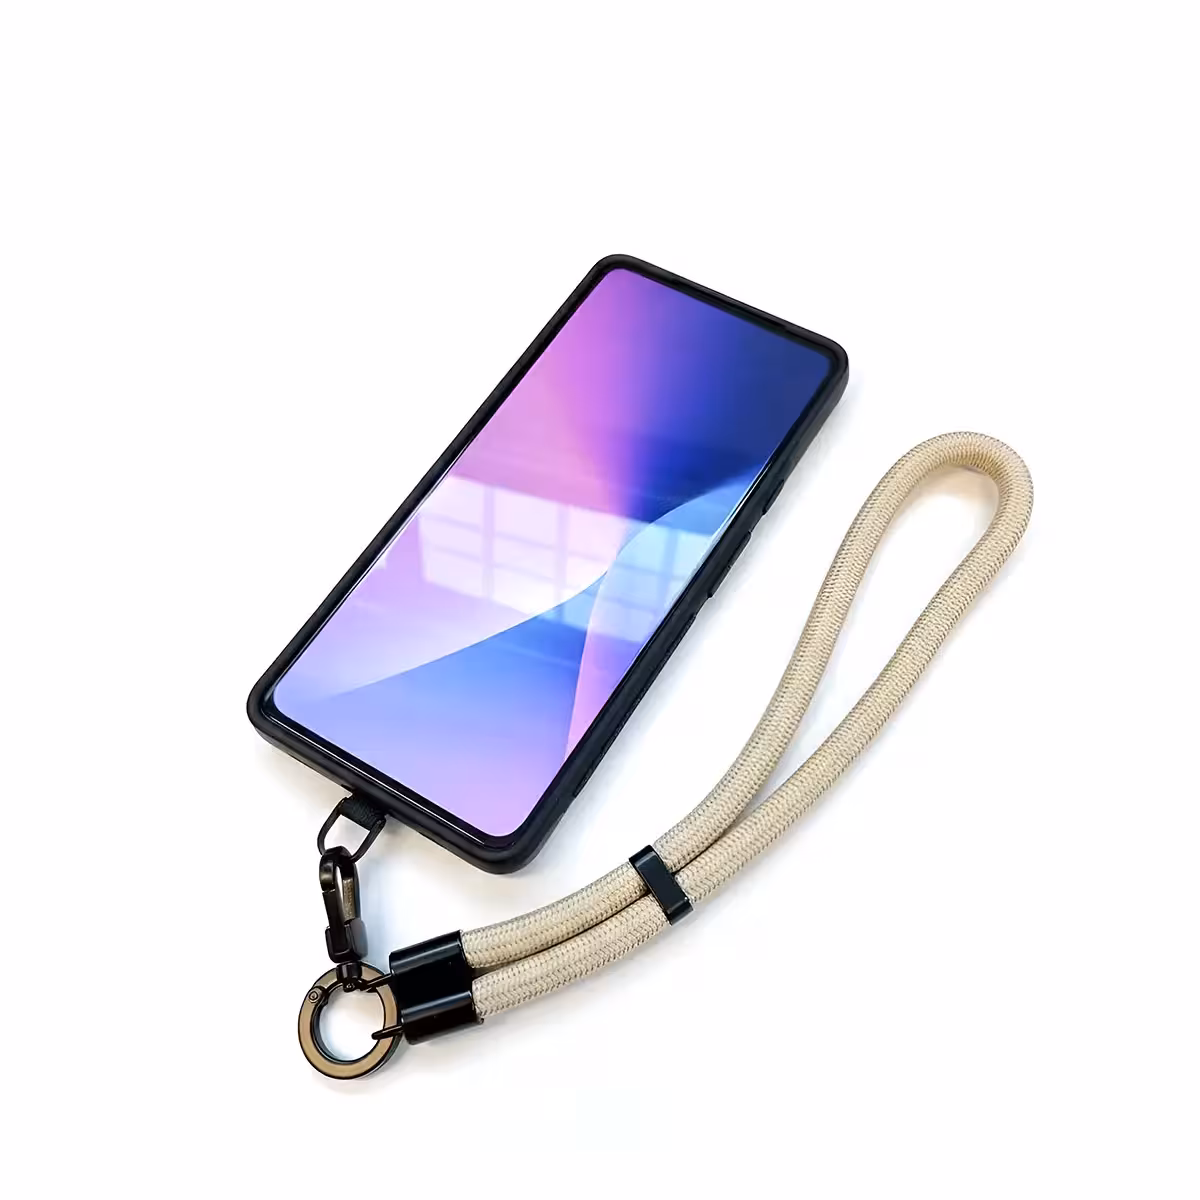
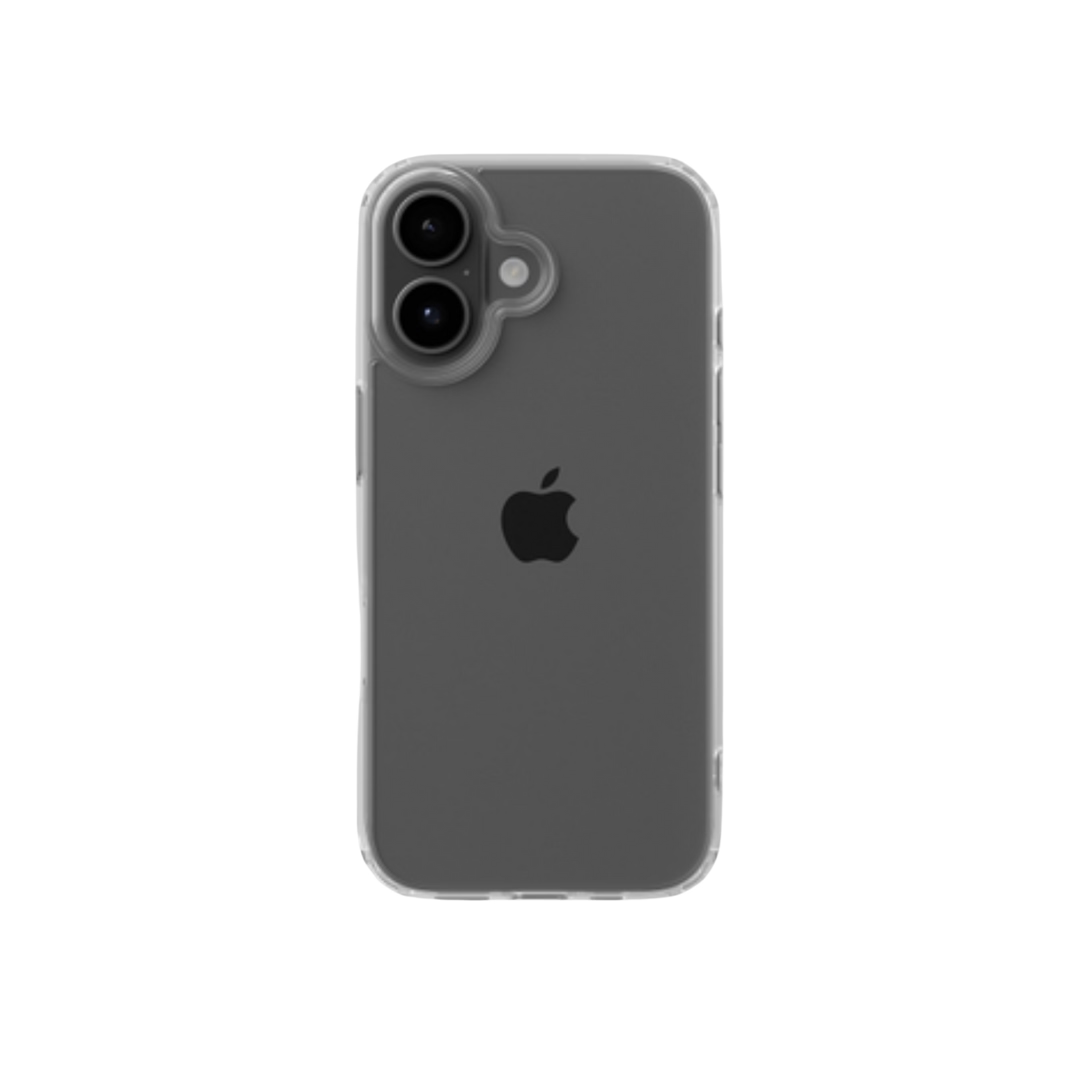
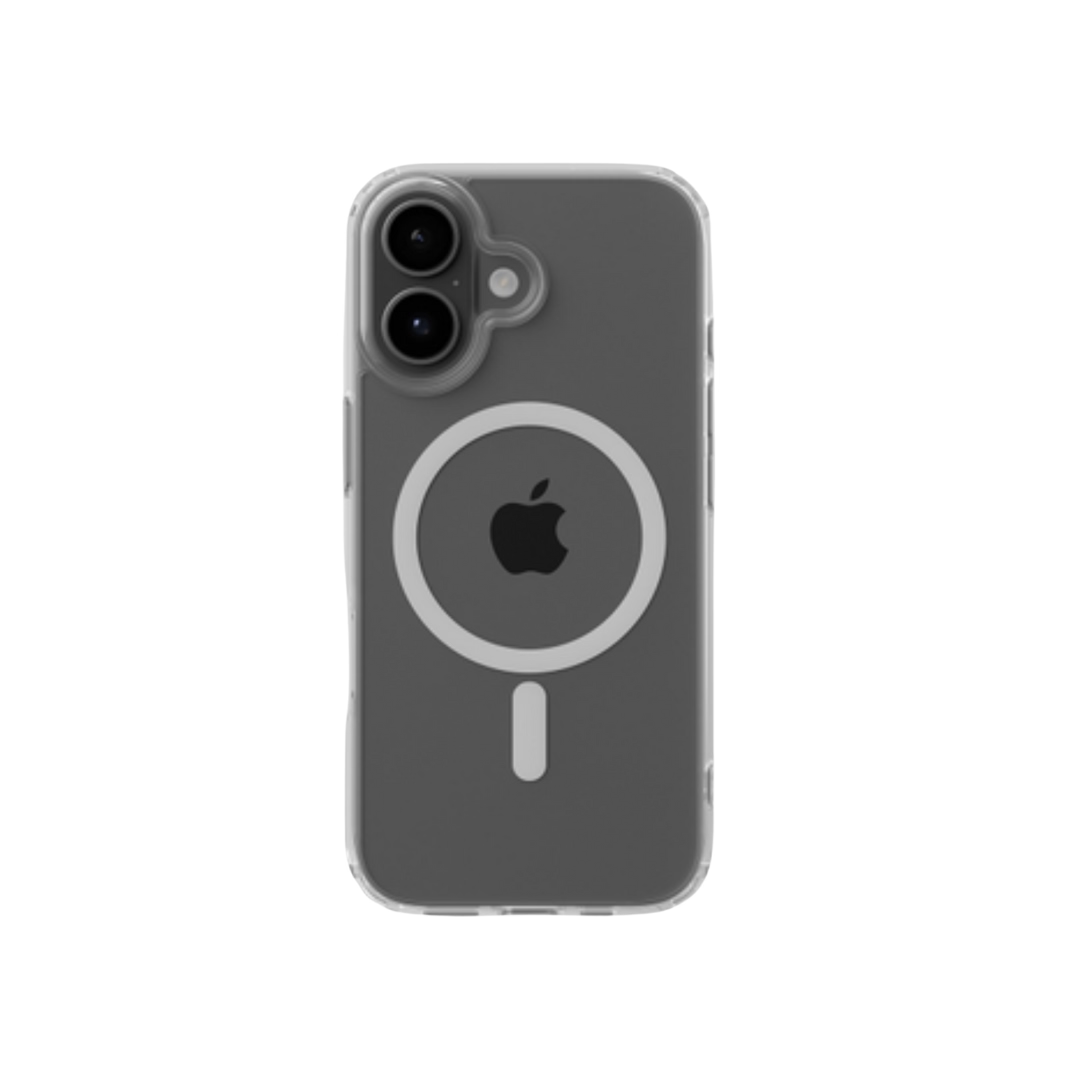
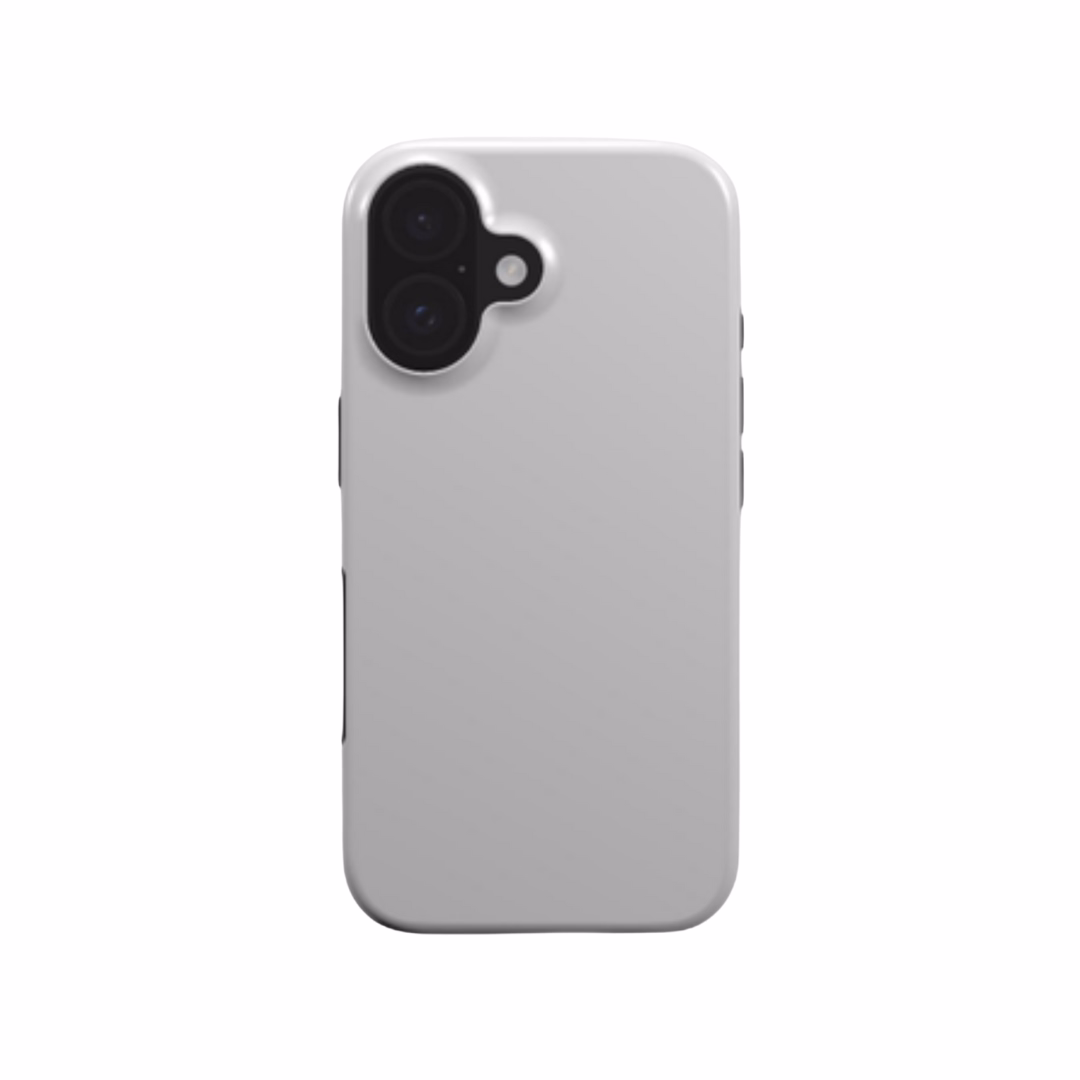
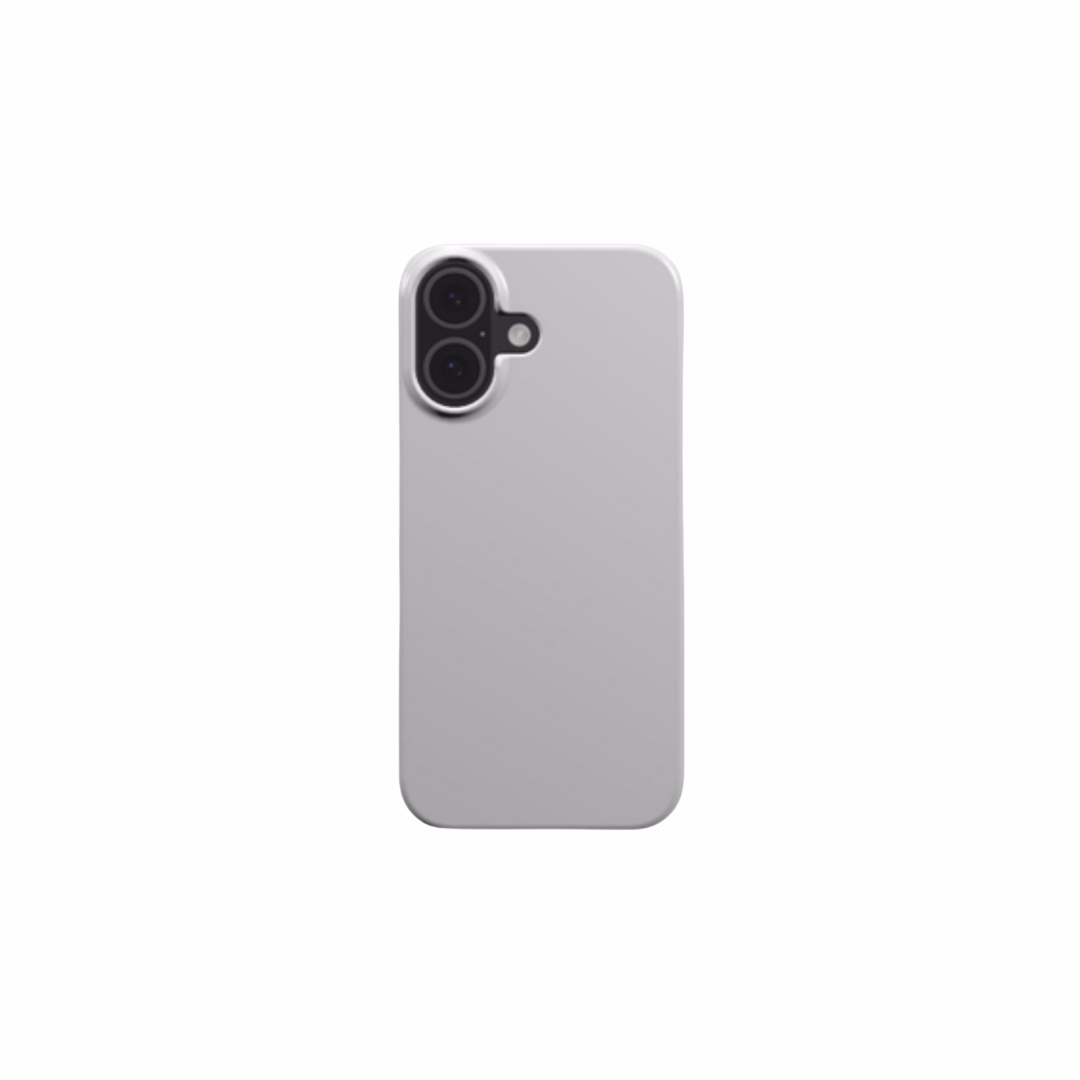
- Tough phone cases - the highest-volume unit in the tech accessories category, with the clearest margin structure (approximately €10 to produce at Podbase, typical retail €35-€60)
- Clear or snap cases - natural price-tier complement to tough cases, attracts a different buyer segment
Add a cross-sell immediately:
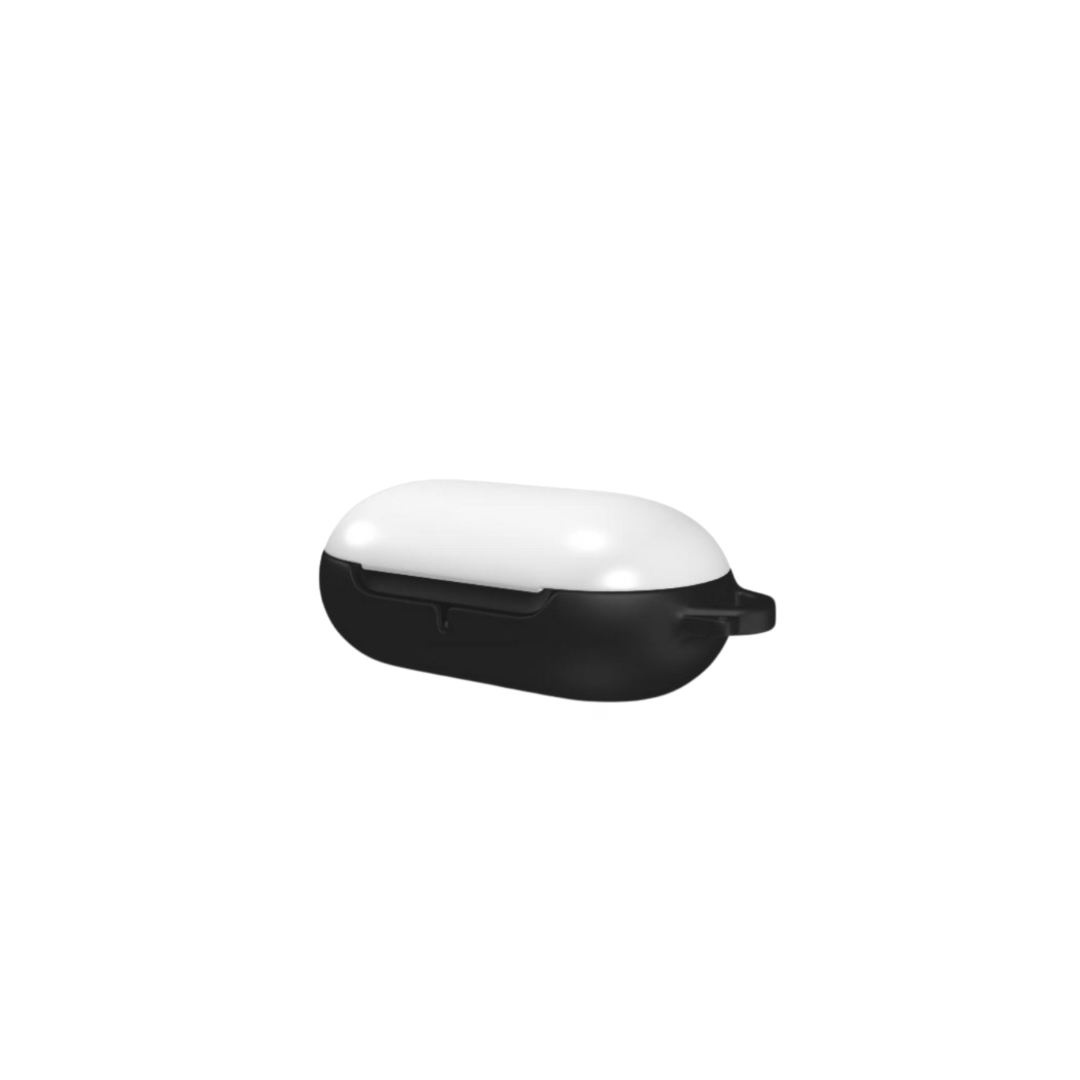
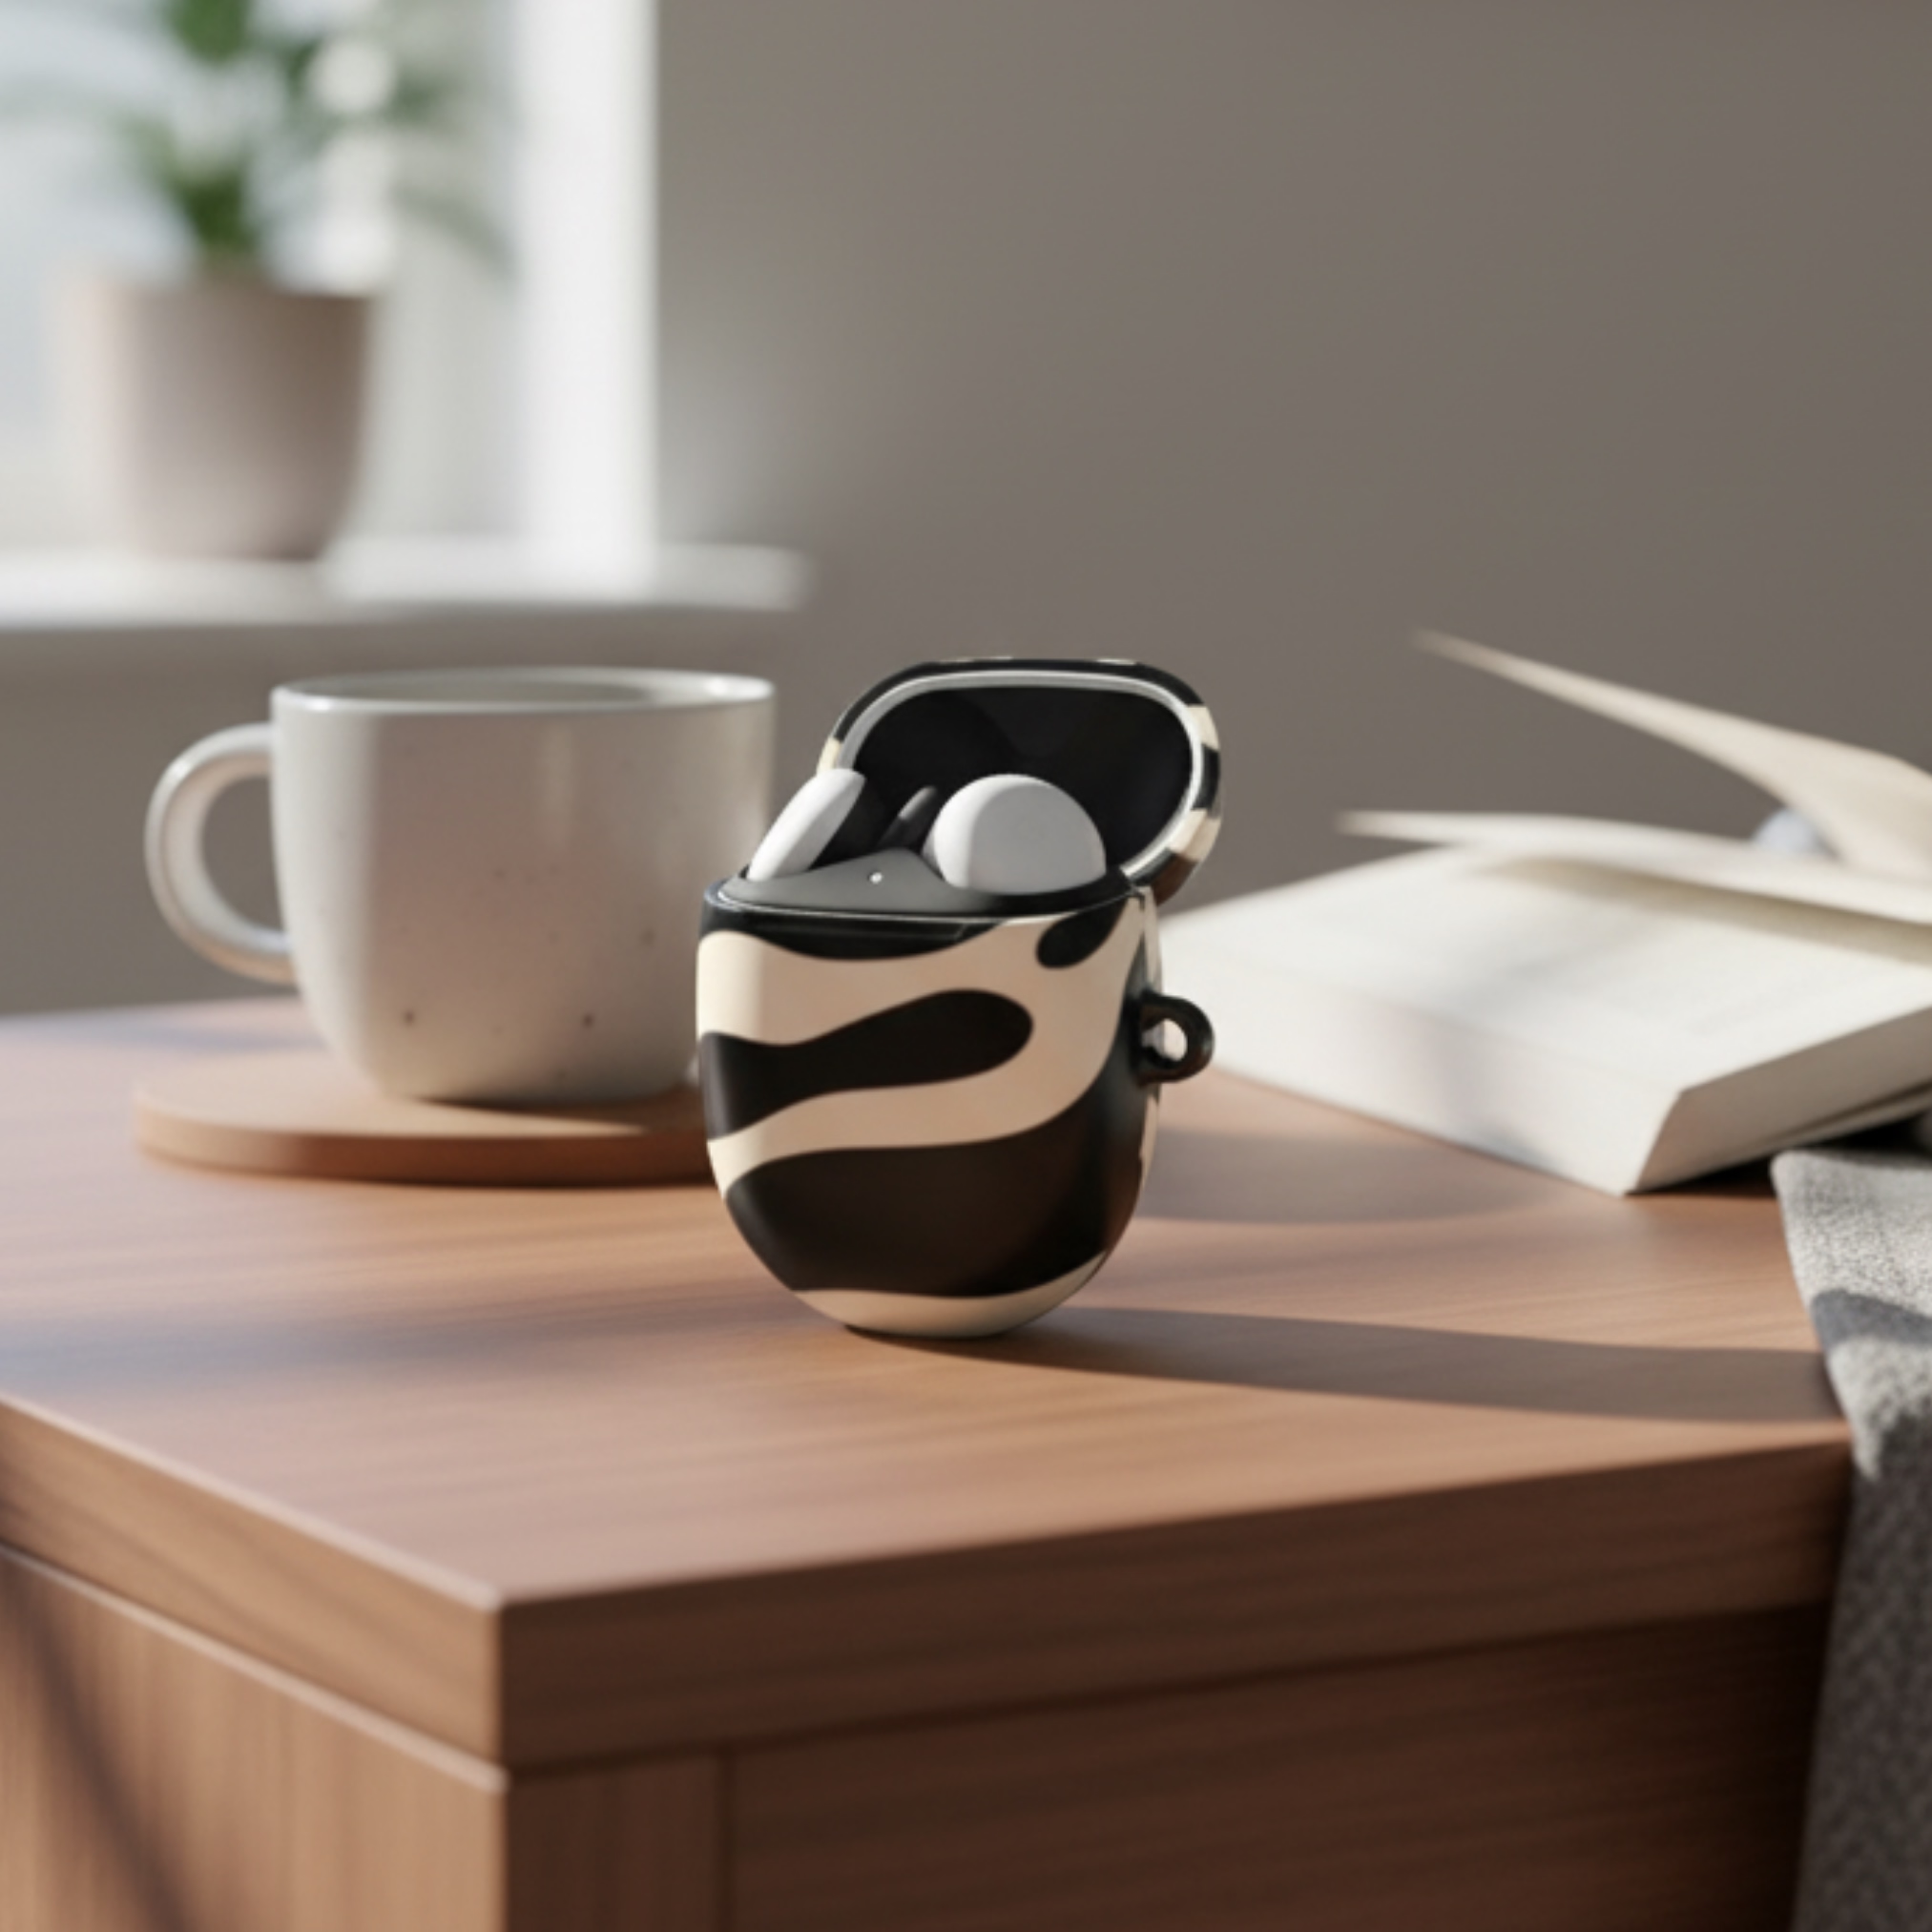
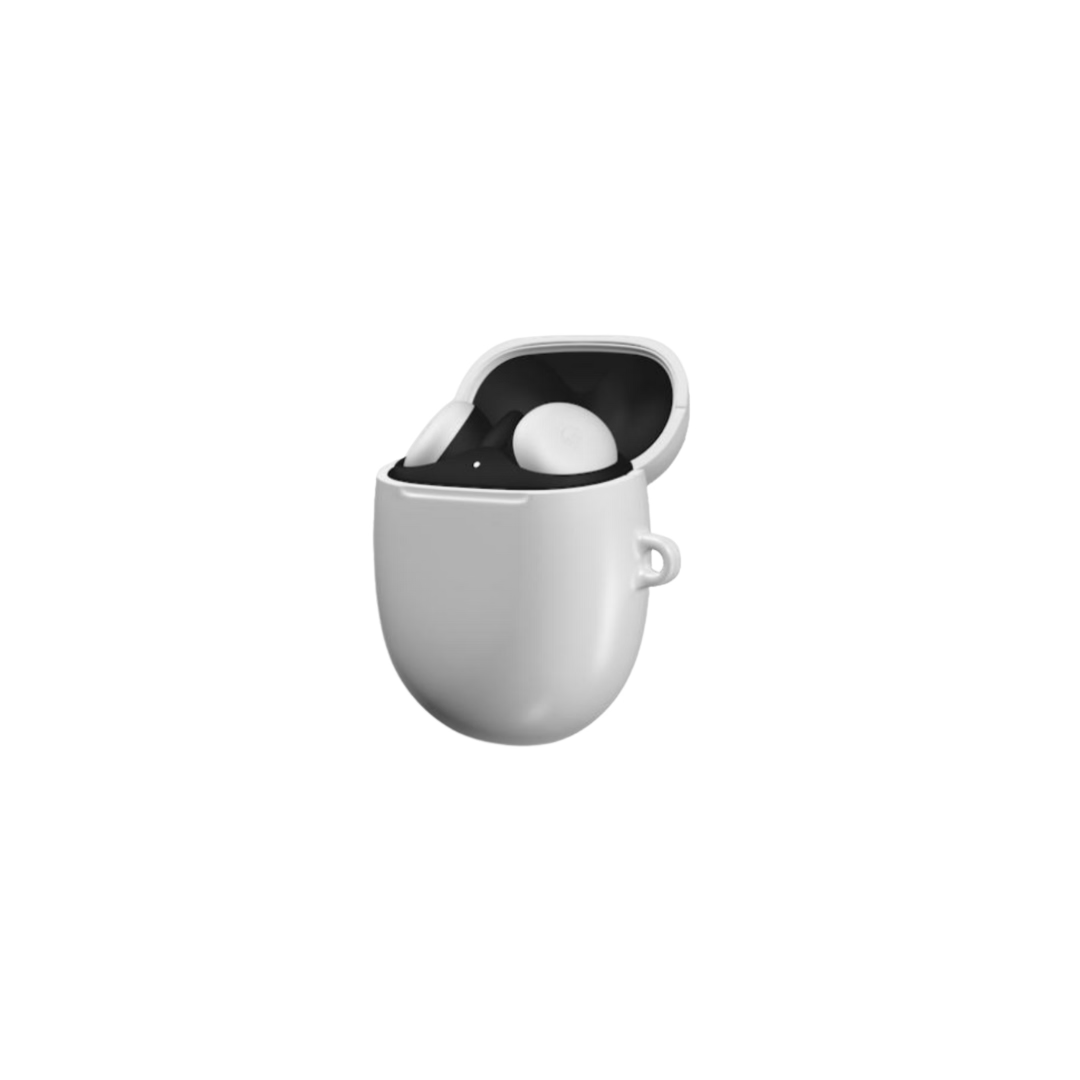
- AirPods cases - the easiest add-on for phone case buyers; same niche, same design family, same customer
Then expand with catalog data behind you:
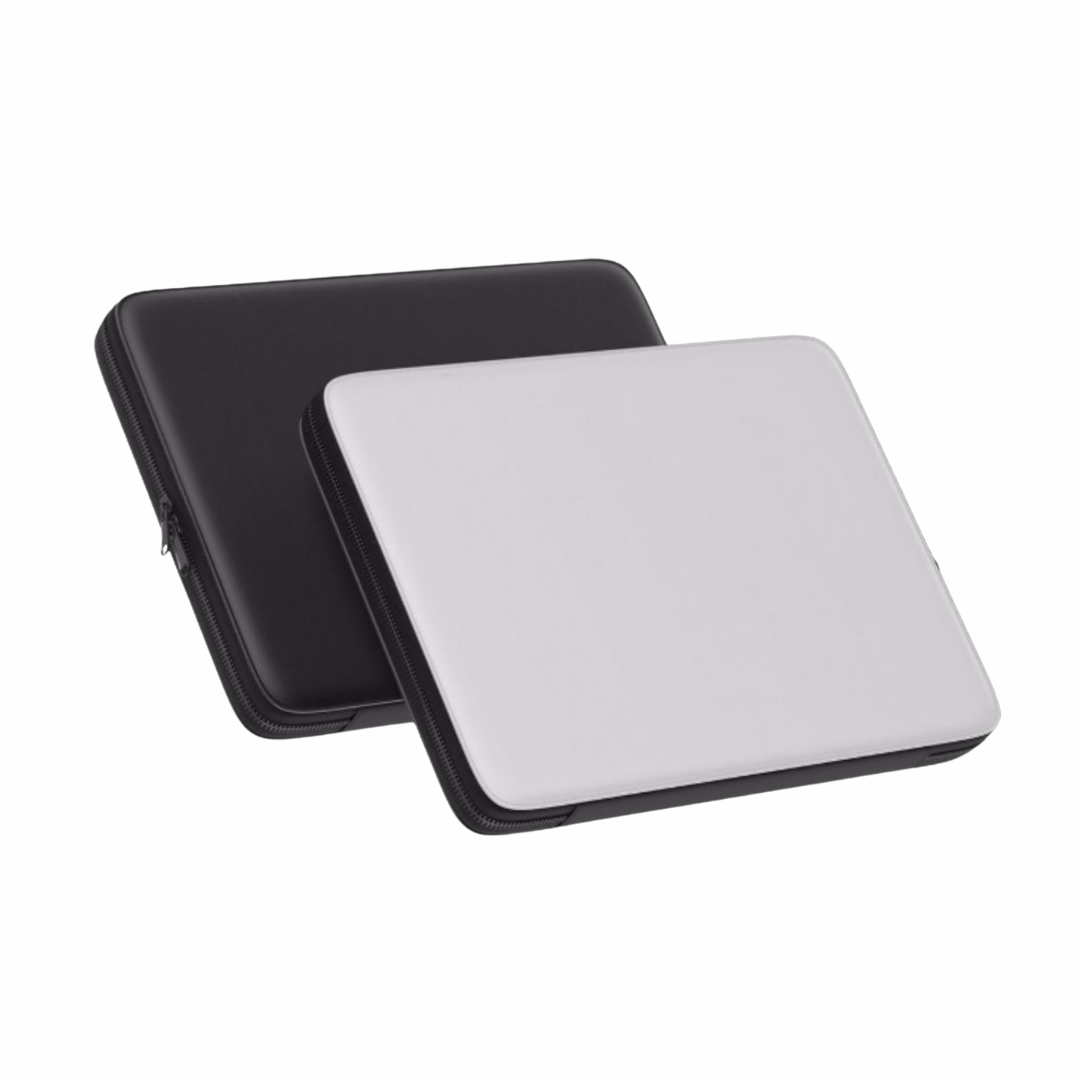
- Laptop sleeves - Justina, Podbase's Head of Product Development, flags this as the single most underrated product in the catalog: "If I had to choose one product sellers are not taking full advantage of, I would say the laptop sleeve. As they are not tied to only one device, it can be used by more different clients - the only important variable is the size of the laptop." Lower competition, higher perceived value, and a natural second purchase from phone case buyers who carry laptops.
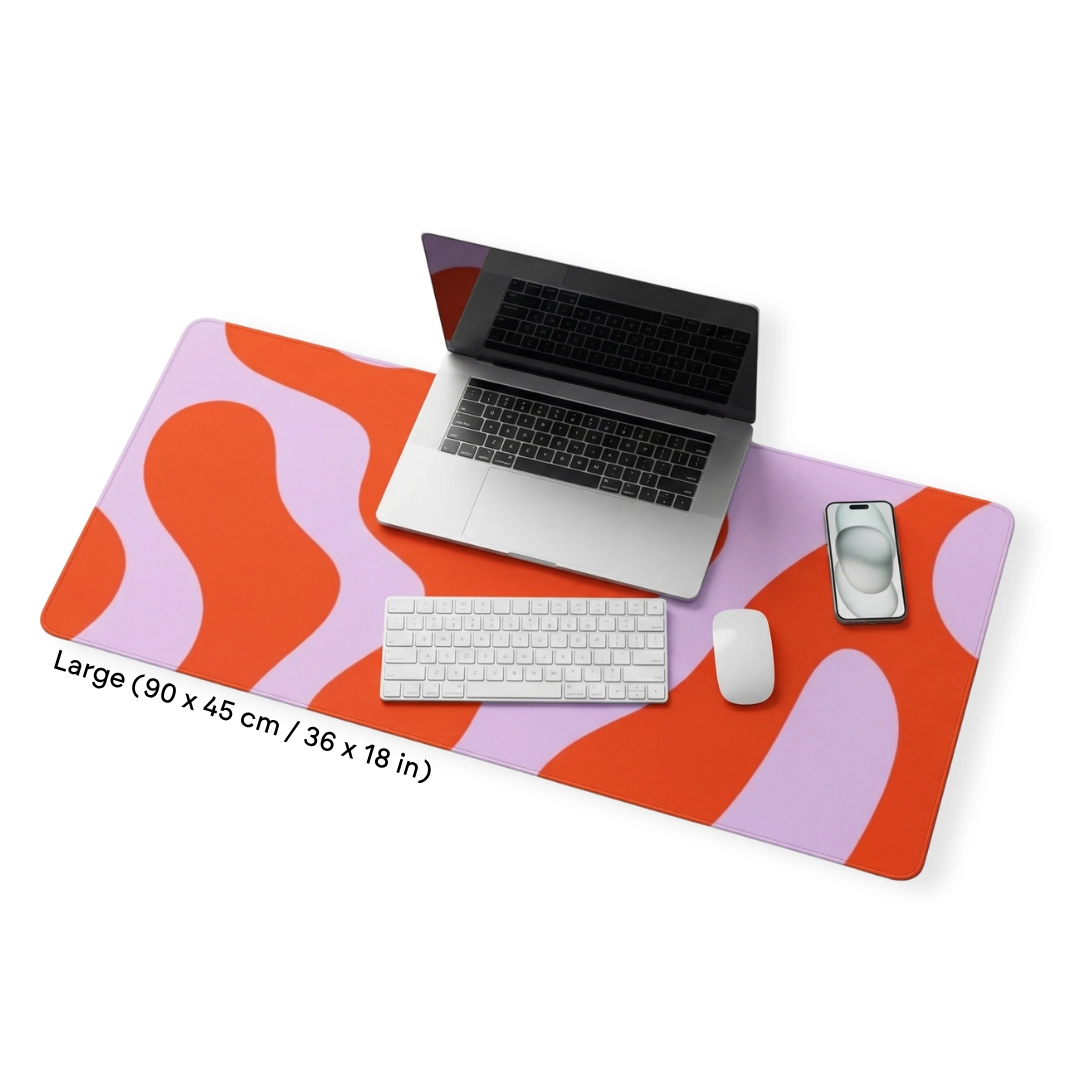
- Desk mats and mouse pads - strong for niche brands (gaming, productivity, pets, aesthetics)
- iPad and tablet cases - natural expansion from phone to tablet for the same device-protective buyer
- Wall art - Podbase CEO notes that "almost 65% of wall art sales are still offline, so there is a huge potential for digital web sales from ecommerce stores as it became really simple to produce and ship." A matching wall art poster for a buyer's existing phone case design is a high-AOV cross-sell with minimal creative overhead.
Also Read:
Margin Math: What Tech Accessories Actually Earn
Before you design a single product, decide on a pricing model that survives real operating conditions - not just the best-case scenario.
Here is a practical sanity-check framework using phone cases as the example:
- Base production cost: approximately €9.95 for a standard Podbase tough case
- Typical retail price: €35-€60, depending on niche positioning and design complexity
- Gross markup: 3.5-6× before fees and shipping
Then apply the stress tests:
- What happens if you offer free shipping? Deduct €4-€8 from your effective margin depending on region.
- What happens if you run a 15% discount promotion? Does profit survive?
- What happens if you spend €5-€10 per acquired customer on ads? This is realistic for Meta ads in the POD space - Podbase CMO Vytautas Mikaila confirms that social media ads are the primary acquisition channel for the overwhelming majority of active sellers.
If your numbers only work in the perfect scenario, you are priced too low. Podbase Head of Sales confirms: "Your supplier has to provide a good base price so you can always keep a healthy profit margin." Podbase pricing sits 10-15% better than major competitors across most product categories, reaching up to 20% in select categories - which means the same design and same retail price nets more per order when fulfilled through Podbase versus Printify or Printful.
Upsell immediately: Podbase internal data shows that 3-10% of phone case buyers add a screen protector at checkout, adding €10+ to average order value with zero additional acquisition cost. For laptop sleeve buyers, a matching desk mat or wall art poster follows the same logic.
Also Read:
Design Files: What "Good" Actually Means in Tech Accessories
Tech accessories are unforgiving. Buyers see the product close-up every day. Print quality is the #1 concern sellers raise when choosing a POD provider - and the most common source of returns is not wrong orders, it is design files that looked fine on screen but produced poor results in print.
Baseline requirements:
- High resolution: 300 DPI minimum
- Color space: CMYK - Podbase's Manufacturing and Operations Coordinator Ieva is explicit: "The most accurate results are achieved when designs are submitted in high resolution and in the CMYK color space, which allows the printed products to match the original design that we see on the screen." Note: many generic POD guides recommend RGB; for Podbase's production process, CMYK produces the most accurate color matching.
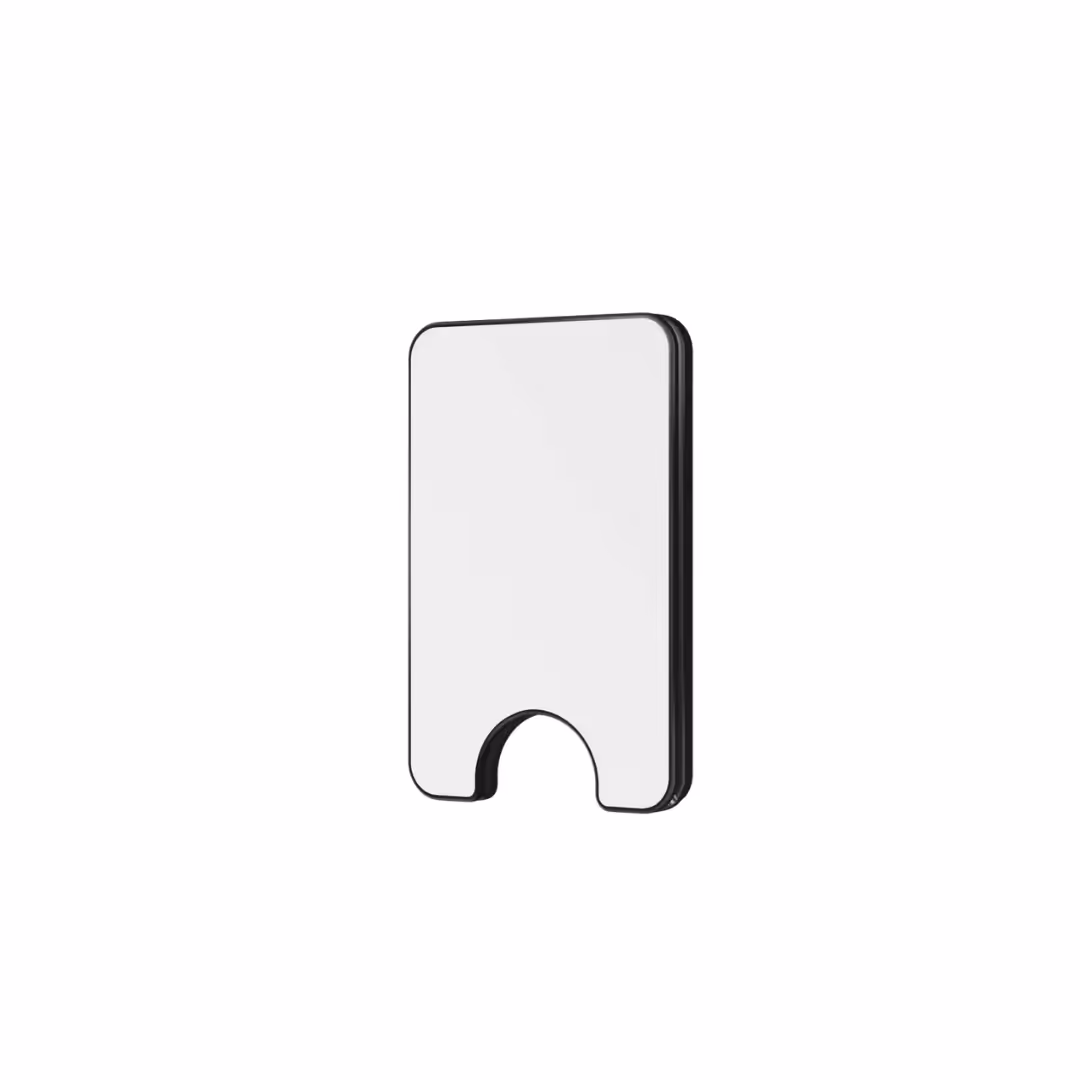
- Use the product template: Camera cutout positions and safe areas vary by model. Podbase provides PSD templates - use them. The most common design mistake for phone cases specifically is artwork that bleeds into camera cutouts or button areas.
- Avoid ultra-thin lines and low-contrast details: These often disappear entirely in sublimation printing.
Quick design workflow:
- Download the product template for your target model (PSD format)
- Place your design as a smart object layer within the safe area
- Keep camera and button cutouts completely clear
- Export in CMYK at high quality
- Preview in Podbase's mockup generator before publishing
For adapting existing designs to new phone models, CEO Saulius Meilutis describes the AI workflow that now replaces hours of manual Photoshop work: "Now you can just simply write a prompt with all the requirements, upload your designs, and the output is here really fast and efficiently." What used to require a developer or a designer for each model variant now takes minutes - and the onboarding time that previously took three months now takes less than a month as a result.
Also Read:
Store Setup: Shopify and Why It Is the Default for POD Brands
For sellers building a brand - not just testing designs on a marketplace - Shopify is the cleanest starting point. The reason is control: control over your brand identity, your customer data, your email list, and your upsell flows. Marketplaces give you traffic but own the relationship with your buyer.
A typical Shopify POD flow:
- Create your Shopify store (paid plan required for Podbase integration)
- Connect Podbase via the Shopify integration - designed to connect in minutes, with no fulfillment fees
- Create products: upload your design, select models, set your price
- Publish to your Shopify store
- When orders come in, fulfillment and shipping are handled automatically
The Shopify + Podbase connection also enables more advanced workflows. CEO Saulius Meilutis notes that sellers are now building custom integrations and order management scripts using AI without any coding experience: "We have some internal use cases when store owners build their own scripts and integrations with AI without any coding experience and still their fulfillment flows work really, really great and fluent." For sellers with custom needs - specific inventory management systems, open API integrations - Podbase's IT team works with sellers directly rather than routing them to a ticket queue.
Also Read:
Fulfillment and Shipping: The Real Competitive Battleground
Customers care about delivery time more than most first-time sellers expect - and the metric that actually matters is not shipping time alone, but total time from order placed to doorstep. A provider that advertises a 3-5 day shipping window but takes 5 business days to fulfill means a real delivery window closer to 10 working days.
Podbase manufacturing and dispatch target is within 24-48 hours. During peak winter season - the highest-volume, highest-stakes period in POD - Podbase maintained an average 48-hour fulfillment window. Tautvydas Peseckas, Podbase's Head of Customer Support, explains what this means in practice: "During the peak winter season, while other major providers were struggling with lead times of over a week, Podbase maintained an average of 48 hours." For sellers whose star ratings depend on delivery speed, provider choice directly determines review outcomes.
Typical shipping ranges from Podbase:
- Europe (incl. UK): 3-10 business days (economy) / 1-3 business days (express)
- United States: 8-14 business days (economy) / 2-3 business days (express)
- Oceania: 8-16 business days (economy) / 3-4 business days (express)
- Worldwide: 8-14 business days (economy) / 2-5 business days (express)
Couriers vary by region - DHL in Europe, FedEx/USPS in the US. Best practice: put shipping estimates on every product page and in your order confirmation email. Do not promise "2-3 day delivery" unless you are using express.
Customer Support: What Most Sellers Underestimate
The vast majority (approximately 80%) of customer support tickets in POD businesses are post-order issues - faulty products, shipping errors, or lost packages. This means your support workload is largely determined by your fulfillment provider's quality control, not your own customer service skills.
Podbase's approach is built around response speed and direct access. Every seller has a dedicated account manager reachable directly - not a tiered ticket queue that prioritizes based on spend. Tautvydas Peseckas, Head of Customer Support: "If a support issue takes days to resolve and fulfillment then takes another three to five days before shipping, an already unhappy customer is waiting two weeks or more for a resolution. If that same issue is resolved in half a day and fulfillment is done within 24 hours, that two-week window drops to five or six days."
Podbase currently maintains a 6.4/7.0 CSAT rating - leading the POD space. For context: at major competitors, sellers without a top-tier subscription are typically waiting 12-36 hours just for a first response, even longer during Q4. Podbase sellers who migrated from other providers saw a 30% drop in support tickets related to order issues - a direct result of fewer production defects and faster resolution when issues do arise.
A simple support playbook for your store:
- Respond to customer inquiries within 24 hours
- Ask for order number and email as your first message
- Confirm whether the order is still in production or already shipped
- Provide tracking once available - Podbase sends tracking numbers once an order is fulfilled and shipped
Returns, Refunds, and Damage Claims
Print on demand is made-to-order, so the standard policy is no refunds for buyer's remorse or change of mind. However, quality and shipping errors are handled differently.
For quality or shipping issues: provide photos or video evidence. After confirmation, replacements may be sent or a partial refund offered. For returns: items are sent back to Podbase, and after receipt, next steps are agreed (often with a reshipping fee for exchanges).
The most important step is setting this expectation proactively on your store's policy page. A clear policy before purchase eliminates the vast majority of disputes - Podbase's support data confirms that stores with clear, upfront policies generate significantly fewer escalated complaints than stores that leave returns ambiguous.
Your First 7 Days: A Lean Brand Launch Plan
The following plan is based on what works in practice, informed by Podbase's internal data on which seller behaviors predict long-term success.
Days 1-2: Pick your niche and hero product. One clear niche (gaming, pets, travel, local pride, digital art). One hero product: the tough phone case. Niche specificity is non-negotiable - "design for everyone" is the most common reason a POD store stalls. Podbase CMO Vytautas Mikaila: "You need more niche-specific content, more commercially relevant content, more content that is actually connected to real products, real user needs, and real differentiation."
Days 3-4: Create 10-20 strong designs. One style, one audience. Build a consistent collection rather than a scattered catalog. Keep designs within safe areas, export in CMYK at 300 DPI, use PSD templates for each model.
Day 5: Build your store basics. Homepage, collection page, product pages with clear shipping estimates, and policy pages. Do not skip the policies - they protect you before you have any support volume.
Day 6: Order samples. This step has the highest ROI per hour of any action in your first week. Podbase Head of Sales Sidas confirms: "Sellers who place a sample order within the first two days of opening their store and have at least five products published within 30 days are already ahead of 80% of all POD stores." The sample order is not just a quality check - it is the single most predictive behavior for long-term seller success in our data. You need to be able to speak from experience about your own product.
Day 7: Launch and start creating content. Short videos, behind-the-scenes design process, niche-specific content. Podbase CMO Vytautas Mikaila: "That is where many sellers are already running their ads, testing creative, scaling winners, and building demand. You can test faster, you can adjust faster, and you can find what actually resonates faster." For Q4 especially - the most important quarter for gift buying and repeat purchases - having an email list and ad-tested creative from month one makes a decisive difference by the time peak season arrives.
The milestone to aim for: Sellers who reach their first 10 sales enter the top 10% of all POD stores by Podbase's internal data. Thirteen months after starting from zero - with a focused niche, consistent designs, and Podbase as their fulfillment partner - one of our sellers crossed into seven-figure yearly revenue, selling phone cases.
Also Read:
- From 1,000 to 10,000 Sales: How to Scale a POD Store
- Print On Demand Design Ideas: What's Trending Now
Start Building Your Tech Accessories Brand
The path is straightforward: pick one niche and one hero product, design a consistent collection, connect to Shopify, order your samples, and launch. The tech accessories category has ten years of Podbase production data, a proven cross-sell architecture, and a fulfillment infrastructure built to handle peak season without degrading quality or speed.
When you are ready to fulfill orders, Podbase lets you connect to your store in minutes, upload designs to 300+ products, and ship globally without holding inventory. A dedicated account manager is assigned to your account from day one - not after you reach a spending threshold.
Start your tech accessories brand with Podbase today →
FAQ
1. Why are tech accessories a stronger POD category than apparel?
Three structural advantages. Demand density: each device launch creates fresh demand, and about 80% of phone owners buy a case. Variant depth without sizing complexity: one design can ship across 50+ phone models with no size charts to manage. Cross-sell architecture: a phone case buyer is naturally adjacent to a screen protector, AirPods case, laptop sleeve, and matching wall art. Together these let a focused brand build compounding revenue in ways apparel rarely matches.
2. Which product should I start with?
Start with one hero product - the tough phone case, the highest-volume unit with the clearest margins. Add an easy cross-sell immediately (AirPods cases for the same niche and customer). Then expand with sales data behind you: laptop sleeves (underrated because they are not tied to one device - only laptop size matters), desk mats, iPad cases, and matching wall art posters. Avoid launching with too many SKUs before you have sales data.
3. What margins do tech accessories actually earn?
A standard Podbase tough case costs about 9.95 EUR to produce and typically retails for 35-60 EUR - a 3.5-6x markup before fees and shipping. Pressure-test it: subtract 4-8 EUR for free shipping, check that a 15% promo still profits, and budget 5-10 EUR per acquired customer for ads. If the numbers only work in the perfect scenario, you are priced too low. Podbase base pricing runs 10-15% better than major competitors (up to 20% in some categories).
4. What design file specs does Podbase need?
Submit artwork at 300 DPI minimum in the CMYK color space (CMYK matches Podbase's production output more accurately than RGB), and always use the model-specific PSD template so artwork stays clear of camera cutouts and button areas. Avoid ultra-thin lines and low-contrast details, which can disappear in sublimation printing. Preview in Podbase's mockup generator before publishing.
5. How fast does Podbase fulfill and ship orders?
Podbase targets manufacturing and dispatch within 24-48 hours, and held an average 48-hour window through peak winter season while other major providers ran 7+ day lead times. Typical shipping: Europe 3-10 business days economy (1-3 express); US 8-14 days economy (2-3 express); worldwide 8-14 days economy (2-5 express). Always show shipping estimates on product pages and never promise 2-3 day delivery unless you use express.
6. What does a lean first-week launch plan look like?
Days 1-2: pick one niche and the tough phone case as your hero product. Days 3-4: create 10-20 strong designs in one consistent style (CMYK, 300 DPI, model templates). Day 5: build store basics including clear shipping and policy pages. Day 6: order samples - the single most predictive behavior for long-term success. Day 7: launch and start posting niche-specific content. Aim for your first 10 sales, which puts you in the top 10% of POD stores.

Saulius Meilutis is the CEO of Podbase, helping creators and entrepreneurs monetize their ideas with print-on-demand. He shares insights on eCommerce, growth, and building lean online businesses.

.avif)

.avif)


.avif)
.avif)
.avif)
.avif)
.avif)
.avif)


.avif)
.avif)

.avif)


.avif)
.avif)
.avif)