.avif)
How to use Podbase: you upload a design, connect a Shopify or Etsy store, and Podbase handles production, quality control, and worldwide shipping - setting up a store takes minutes, and onboarding a new print-on-demand project now takes under a month, down from the three months it used to take across the industry. This guide walks you through every step, from creating your account to going live.
Print-on-demand is one of the leanest ways to turn designs into income: no inventory, no manufacturing, no shipping logistics on your end. POD lets you sell products without holding inventory and skip traditional business overhead.
But the partner you choose decides how hands-off it really is. If you are new to POD and not sure how Podbase works, you are in the right place - by the end you will be ready to hit publish on your first product and start making sales.
What Is Podbase?
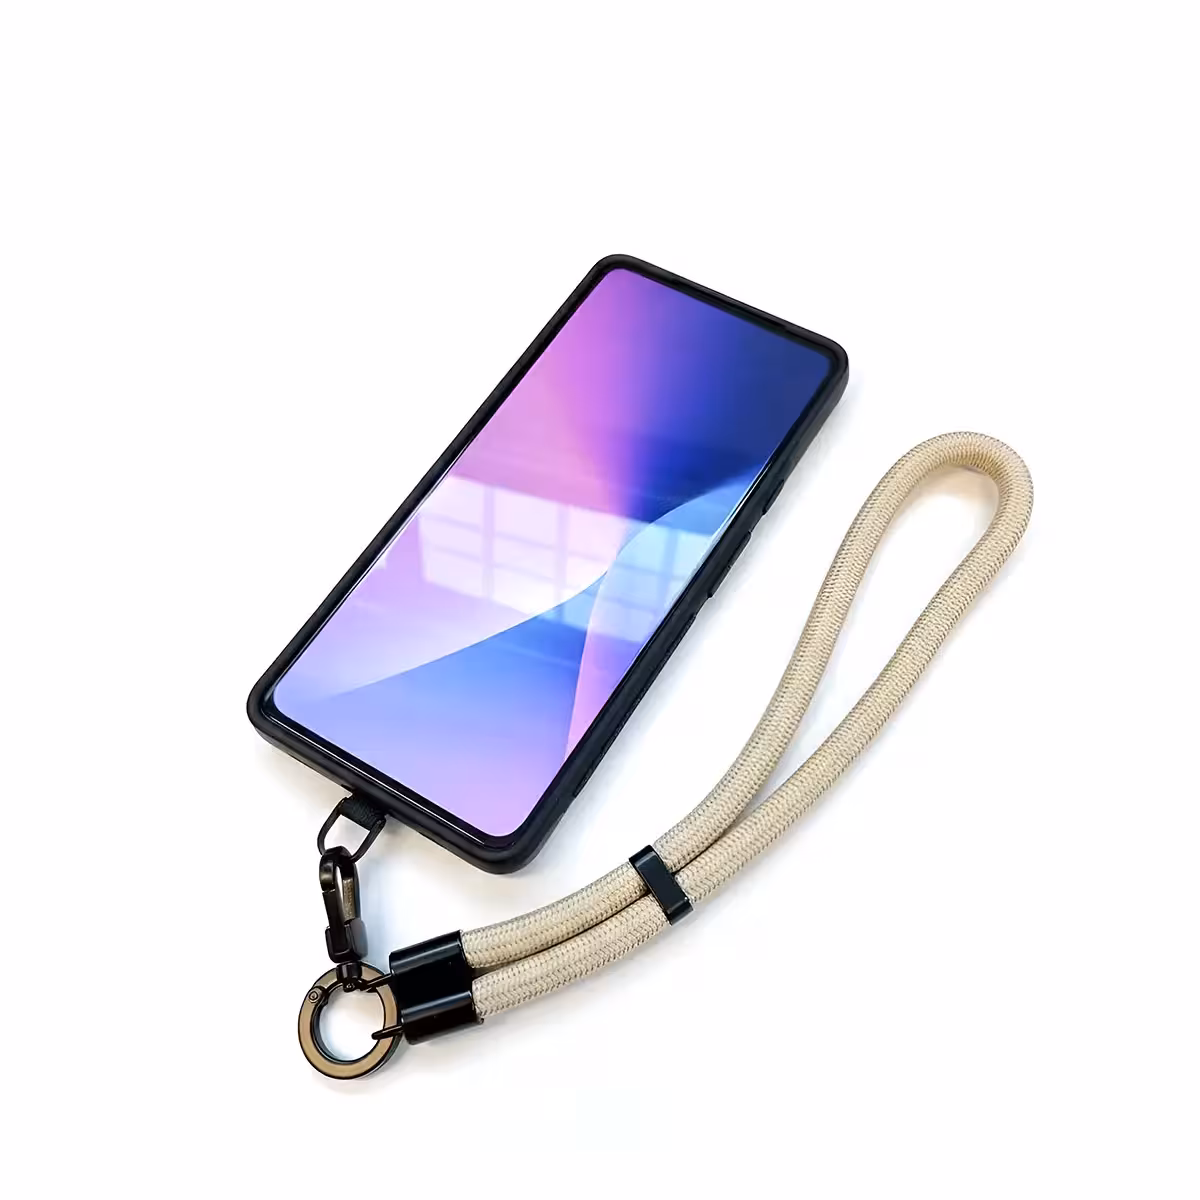
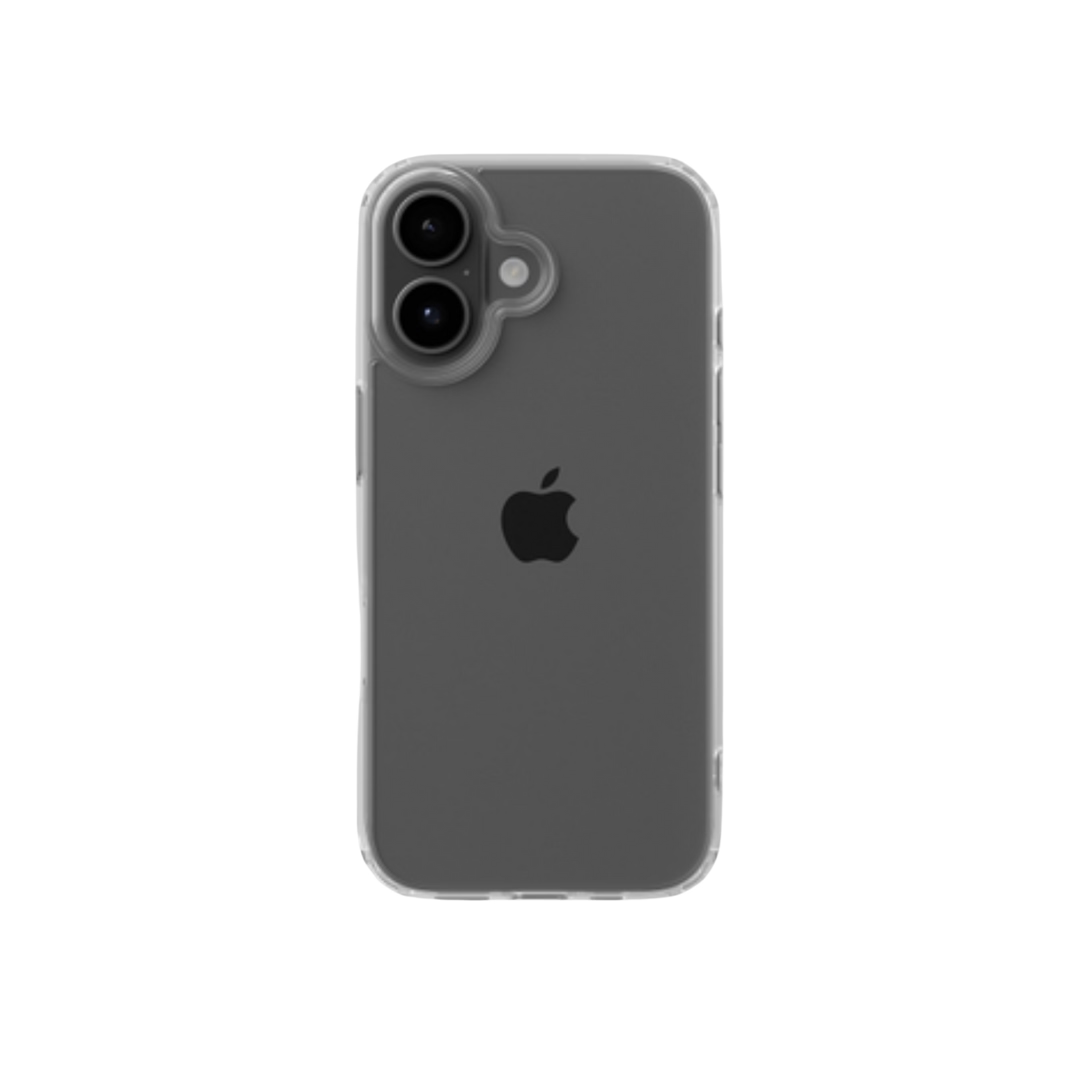
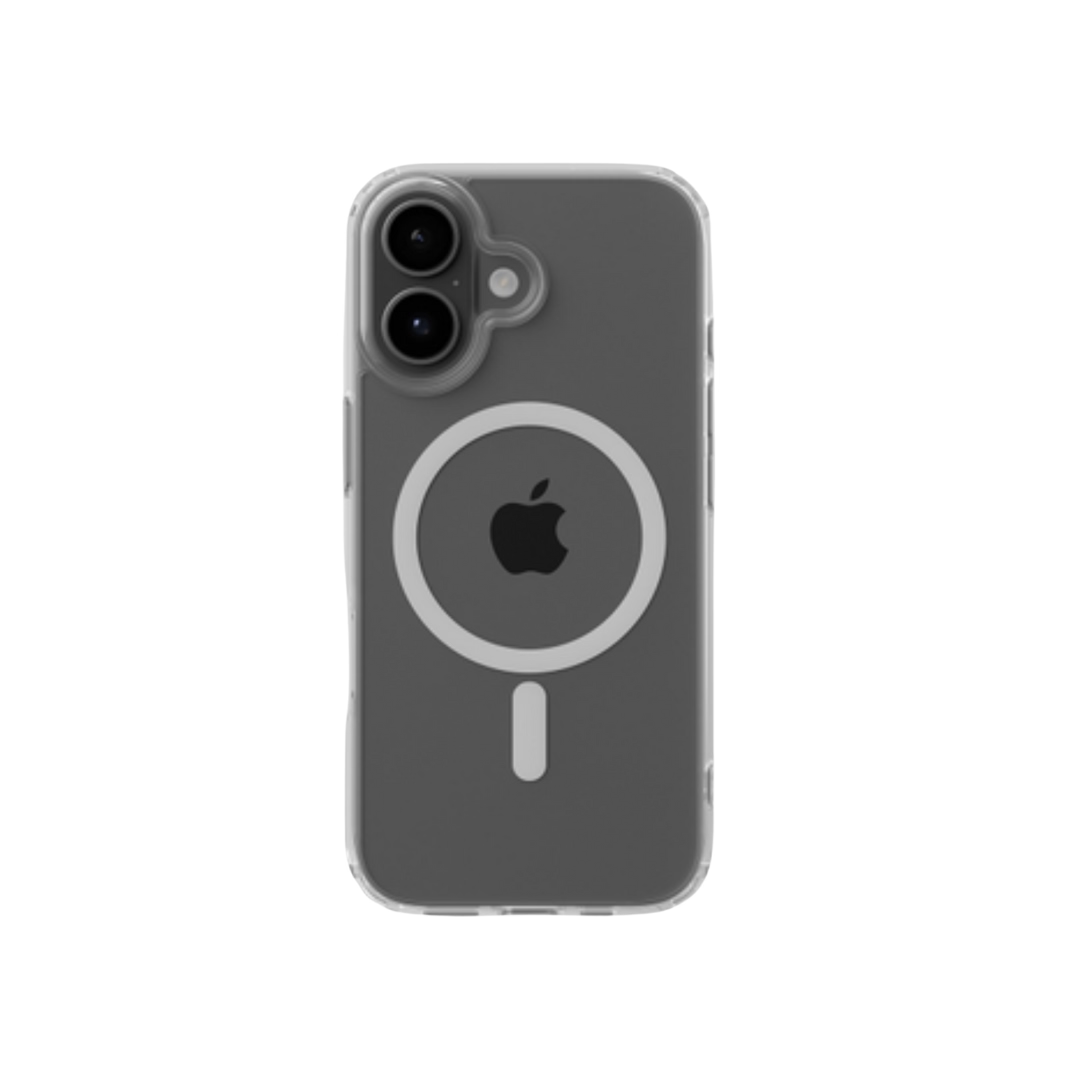
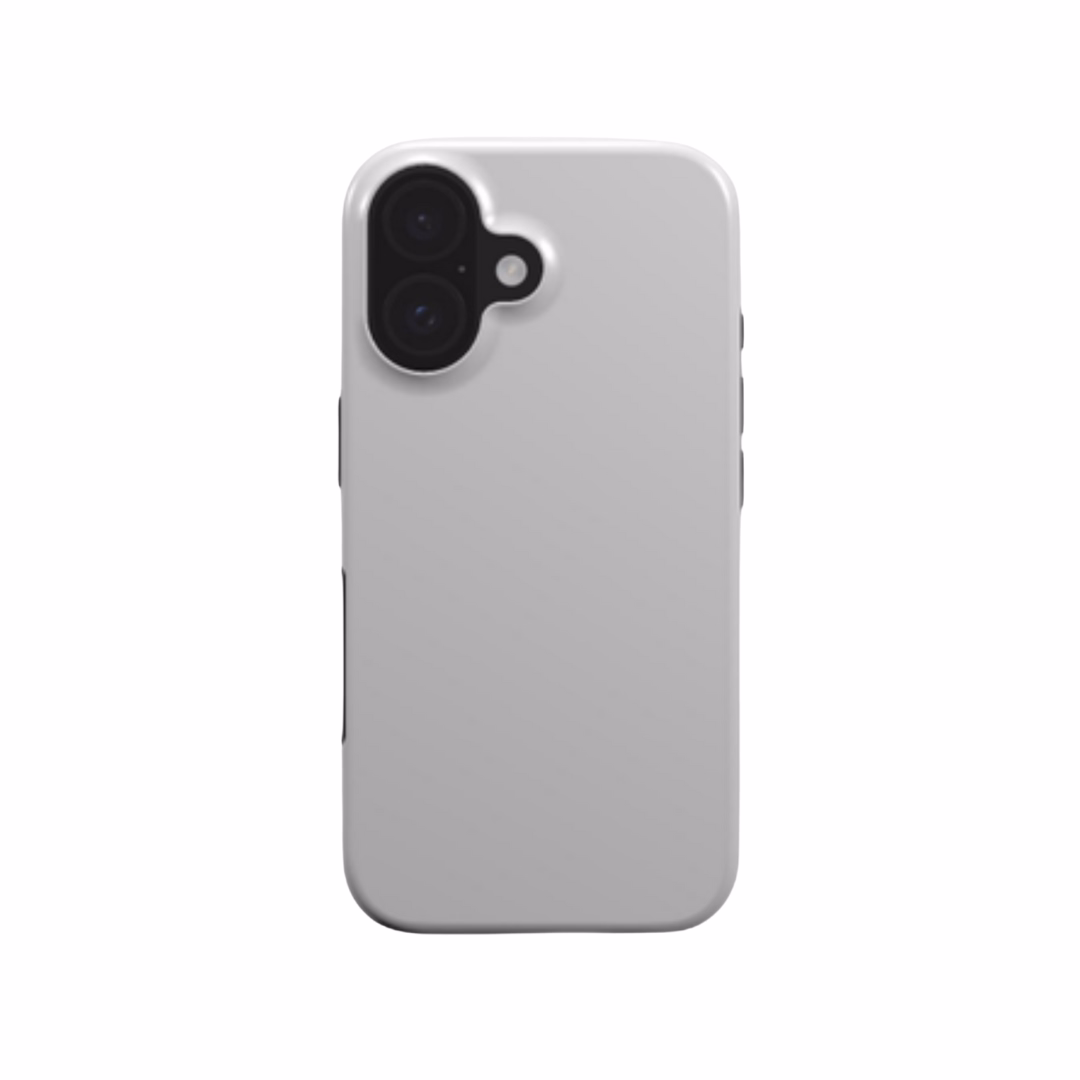
Podbase is a print-on-demand platform that acts as an all-in-one backend for custom tech accessories, custom AirPods cases, wall art, and other POD products - taking care of production, quality checks, and delivery. There is no upfront stock to buy: you upload a design, connect any ecommerce store, and start selling. With Podbase managing fulfillment, launching a custom merchandise shop takes minutes rather than days.
Is Podbase legit, and what makes it different from other POD platforms? That is the question most beginners actually want answered, so here are the hard numbers behind the platform rather than marketing claims:
- Quality control built into every order: each print runs through quality checks between every production stage, and color accuracy is verified with a spectrophotometer - not eyeballed. Average production-to-ship time is about 23 hours, a 31% improvement over the prior six months.
- Better margins than competitors: Podbase pricing sits roughly 10-15% better than competitors across most categories (up to 20% in some), and the platform reports up to 100% higher profit margins versus other POD providers.
- Sellers who switch tend to stay: sellers who migrated their top products to Podbase saw a 15% increase in customer reviews left and a 30% drop in support tickets tied to order issues. About 98% of sellers who work with Podbase for at least three months keep giving it a growing share of their orders.
- Real support for custom needs: when a seller needs a custom solution, Podbase reports being able to meet the requirement about 95% of the time, with US and EU fulfillment centers handling delivery.
Also Read:
How to Use Podbase: Step-by-Step Guide
Now that you know what Podbase is, here is the detailed walkthrough on how to use Podbase like a pro - from sign-up to your first live product.
Step 1: Create Your Podbase Account
The first step is to create a free Podbase account. Confirm your email address and provide basic information to get started. You will add your personal and contact details (phone and email) so the team can reach you about your store or orders.

Step 2: Set Up Your Podbase Account
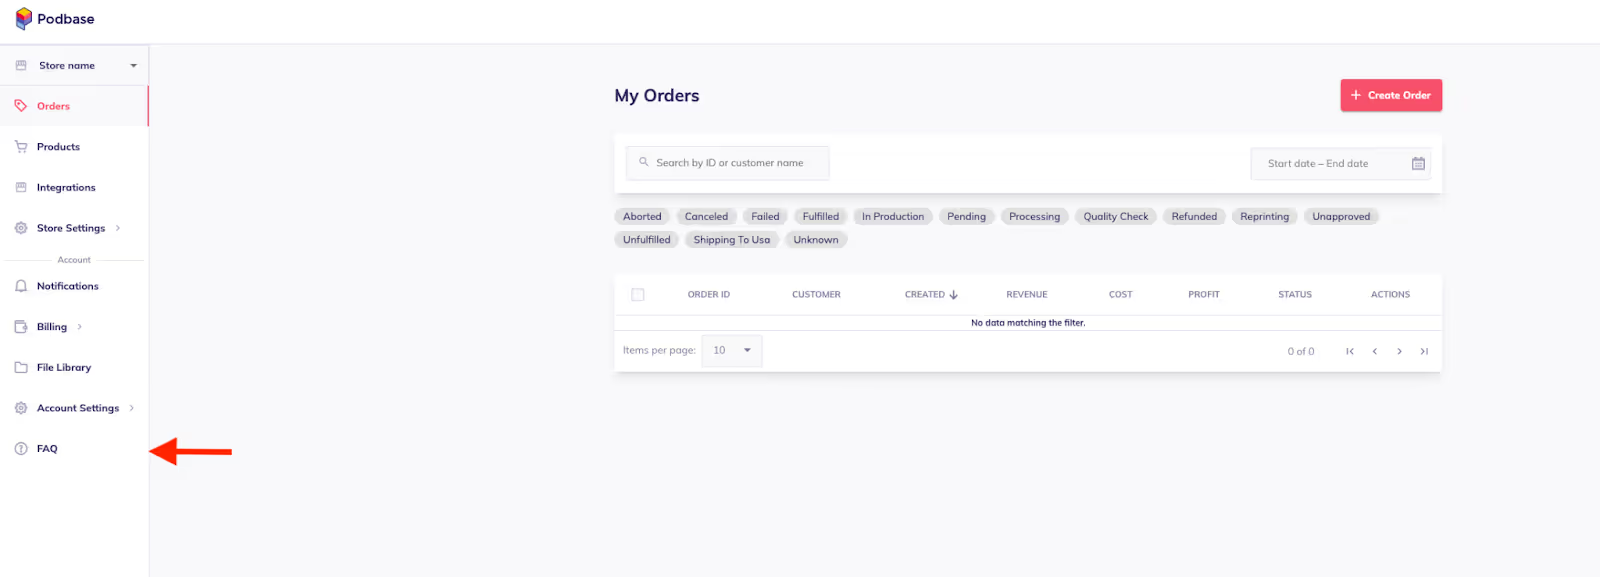
Next, add the essential information about your new print-on-demand business - your company name, address, business code, and VAT number. These details are used to generate proper invoices. Looking for a simple setup guide? Open the FAQ sidebar inside the dashboard for in-context help.
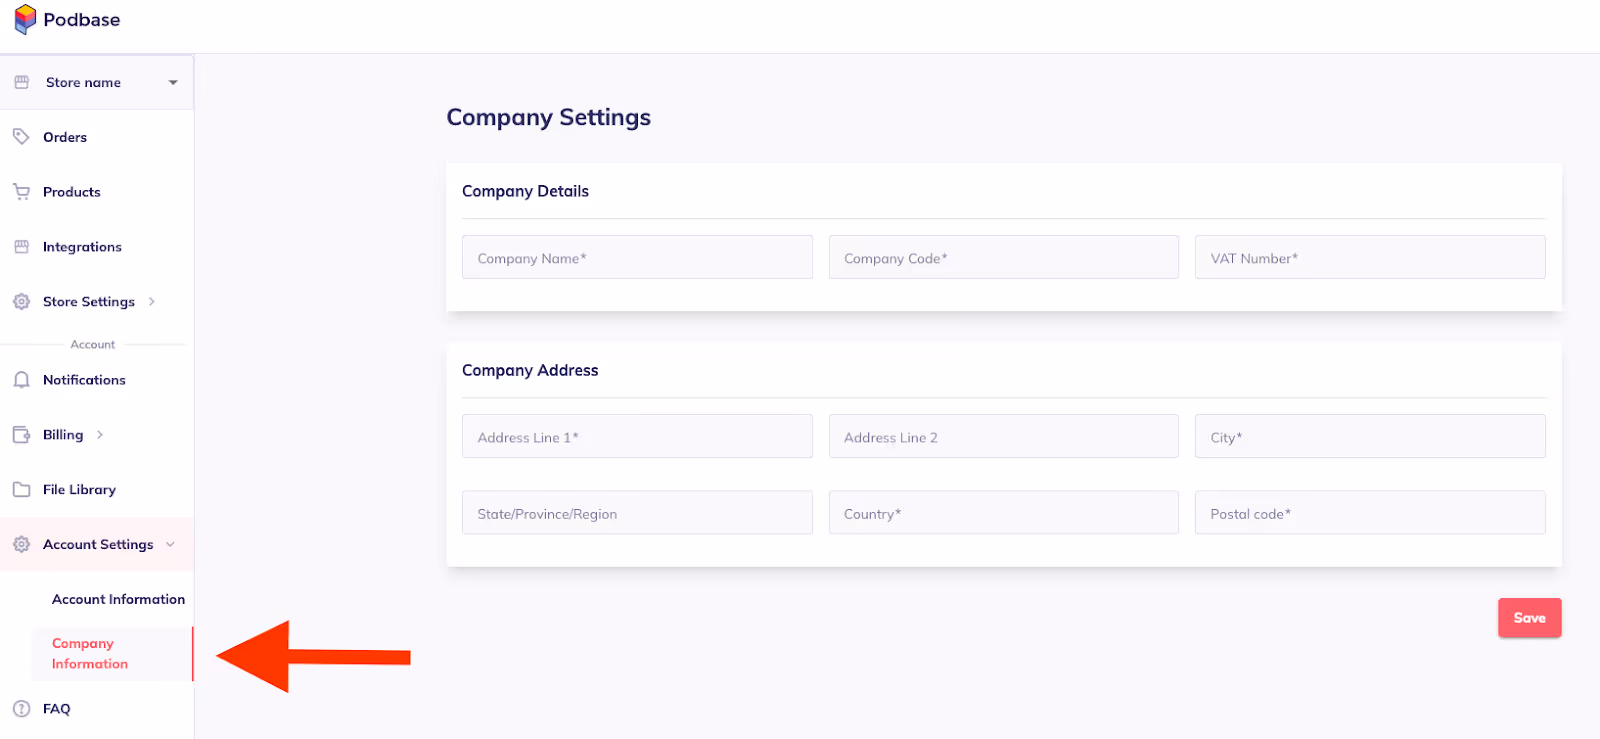
Looking for a simple setup guide? Click on the FAQ sidebar to get the help you need.
Step 3: Set Up Your Store
One advantage of Podbase is that you can manage multiple stores from a single account, switching between them from the menu on the top left. Inside Store Settings, complete these steps.
Complete store information. Provide your store's name and save.

Select an order-approval method. In Order Approval Settings, choose how orders get approved: manually (not recommended once you are scaling), after a set number of hours, or at a specific time each day.
Here is the pro move most beginners miss: set this to auto-approval as early as you can. The sellers who stall out tend to do the opposite of scaling. As Podbase's Head of Sales, Sidas, puts it: “Most sellers who churn go through what we call the guessing phase. They spend months building the ideal store. Six months pass, the store has never gone live, and the initial drive that sparked the idea has quietly faded.” Auto-approval removes a manual bottleneck so your store can run hands-off while you focus on marketing.

Integrate with your ecommerce platform. Connect your Podbase account to your store - it is up to you whether you sell on Etsy or create a Shopify store. You will see separate buttons for Shopify Integration and Etsy Integration; click the relevant option to begin.
Create your product in Podbase, then use the one-click publish feature to push it straight to Shopify or Etsy. Orders placed on your store sync automatically and are fulfilled by Podbase. Still deciding between platforms? Read our Shopify vs Etsy guide.

Step 4: Design and Create Your First Product
Now the fun part - bringing your ideas to life. Go to the Products tab, click +New Product, choose your product, and click Start designing.
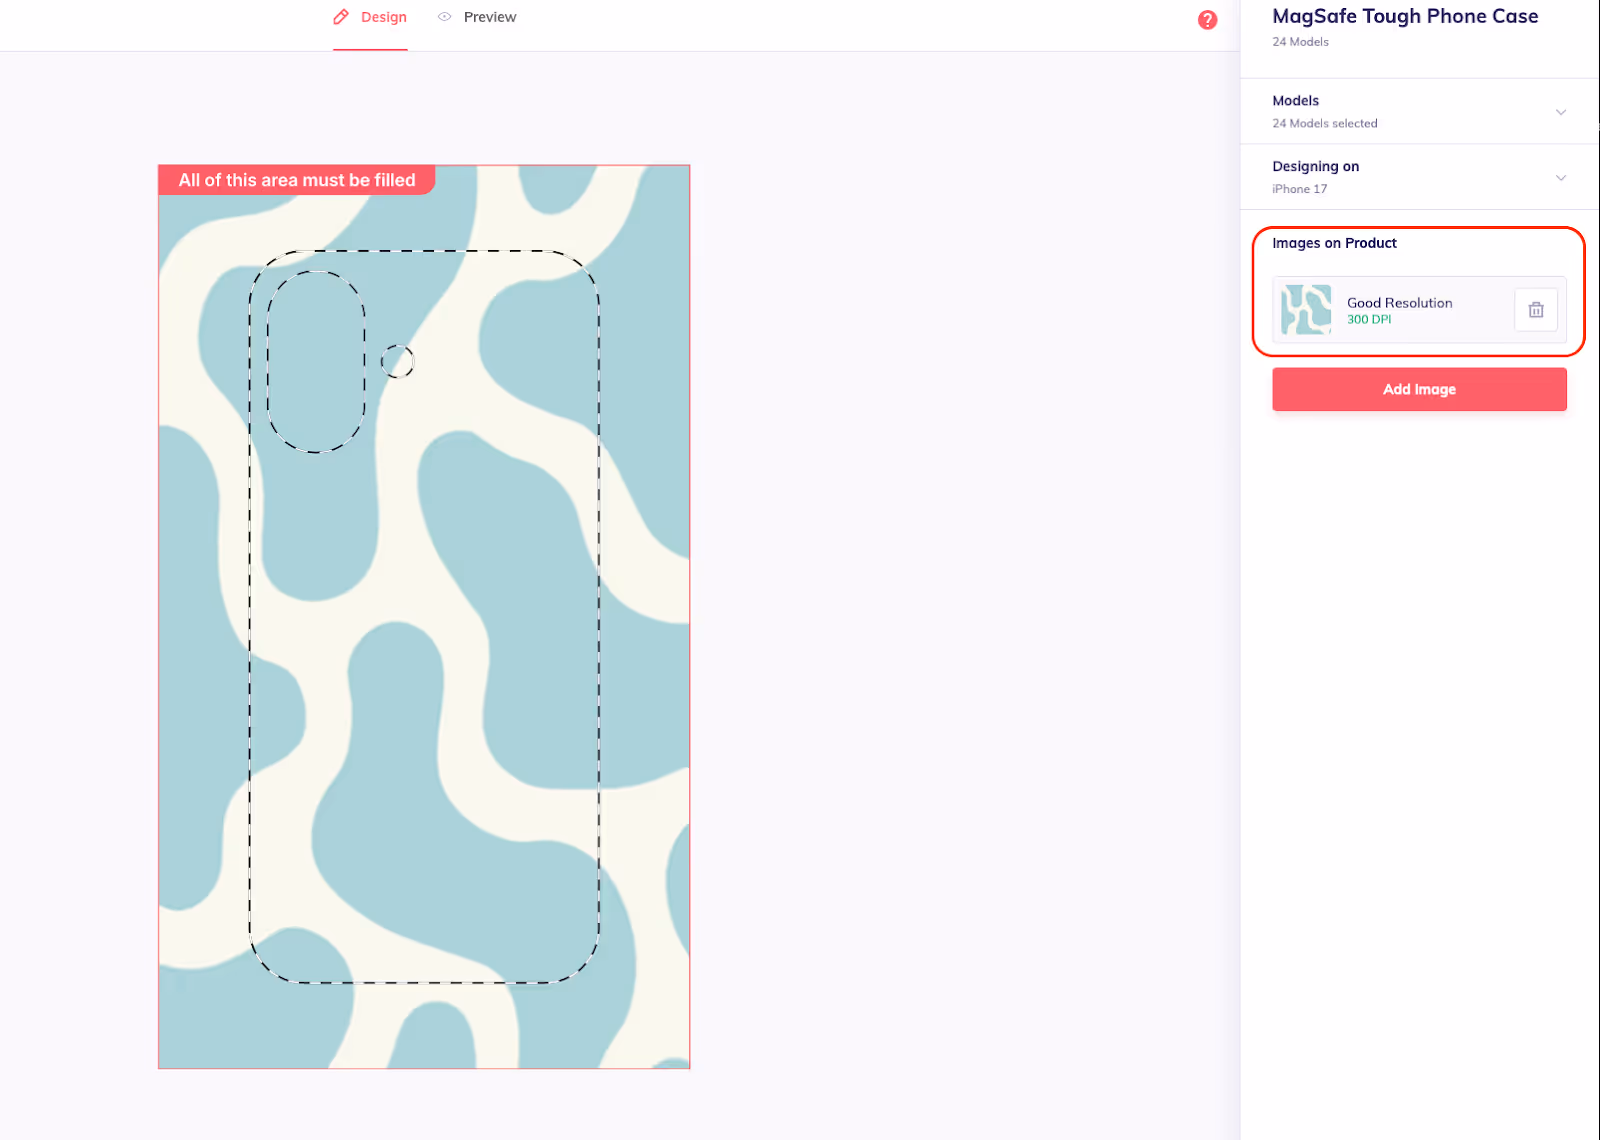
Design your product. Upload your artwork or reuse an older design, and make sure it fits the print area using the correct PSD template. To get the best print quality:
- Keep the image within the red safety lines.
- Watch the DPI indicator - green means great quality (aim for ~300 DPI).
- Use the slider beneath your design to adjust artwork size.
- Recommended size: 2000 x 3400 px.
- Always follow the template - do not rely on the preview, which can display print details in the wrong position.
There is a reason the platform pushes you toward high-resolution files. As Ieva, who runs manufacturing and operations at Podbase, explains: “We test a wide range of materials before launching, and the most accurate results are achieved when designs are submitted in high resolution and in the CMYK color space.” A single print can take 6-8 hours of production time, so getting the file right up front is what keeps your reviews clean. Use the Add Layer feature to combine images, logos, or text into one product - just keep each element high-DPI.

Pro tip: order a few samples of each product and design before you go live, so you only list the options that look great in real life.
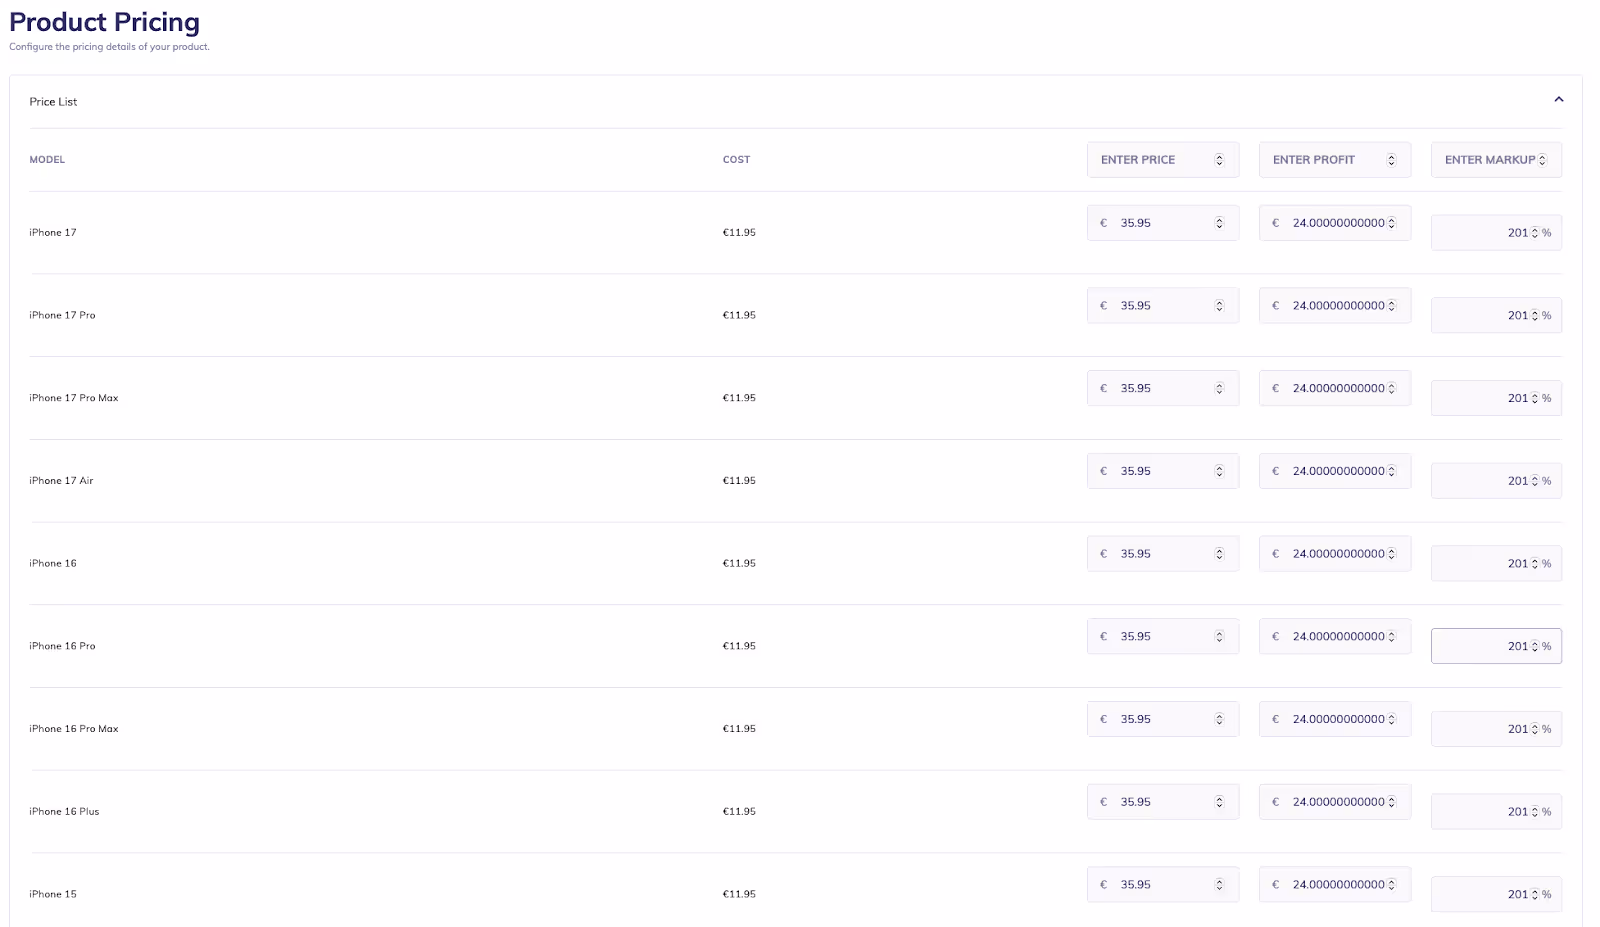
Provide complete product details. Add the product name, tags, an SEO-friendly description, a selling price, and a thumbnail. In Product Pricing you can enter any one of retail price, desired profit, or markup percentage - fill in one value and Podbase calculates the rest.
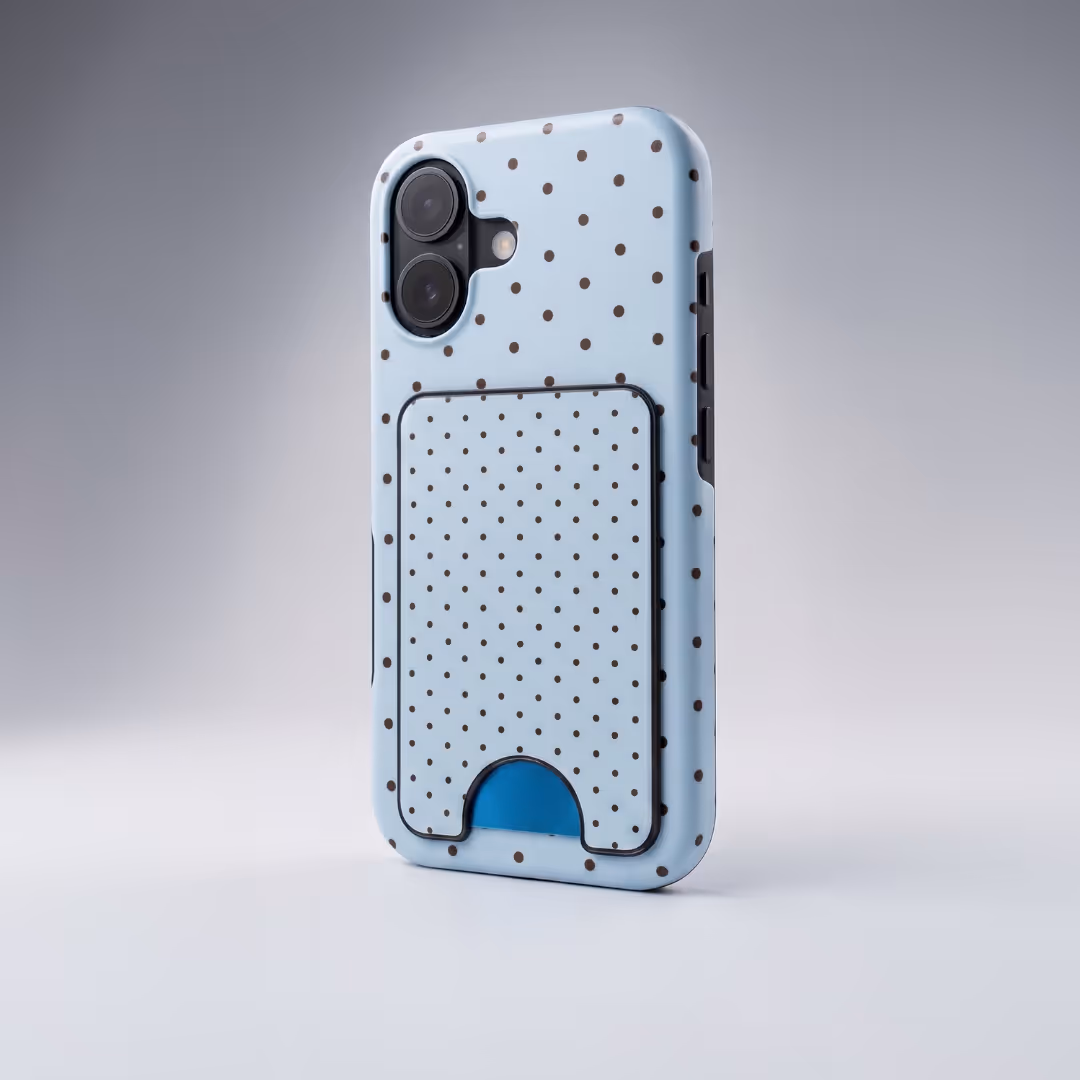
When you set that price, think beyond the base cost. Phone cases are a good illustration of the economics: you might buy from Podbase for around €10 and sell for €35-60. And do not skip easy add-ons - a simple screen-protector option at checkout converts 3-10% of the time and adds roughly €10 of profit per order at no extra acquisition cost. Small AOV boosters like that compound across every sale.
Ready to test Podbase? Top up your wallet with at least €20, then contact the Support team - they will add an extra €20 to your balance for sample orders.
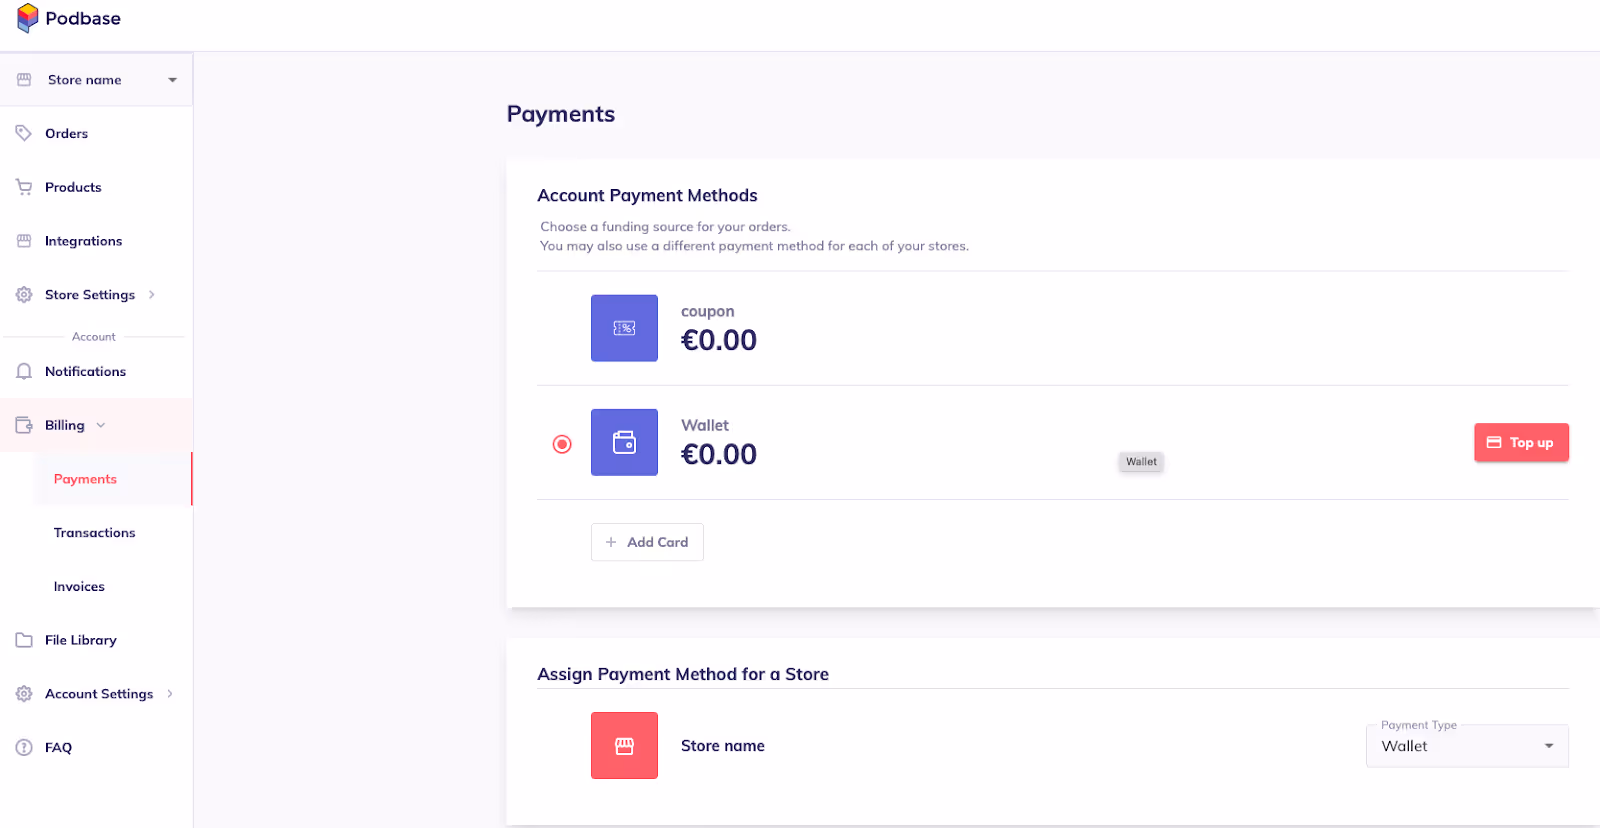
Step 5: Set Up Your Payment Details
To keep production and fulfillment running smoothly, set up your payment method. Podbase offers two options:
- Podbase Wallet: deposit funds in advance; orders are charged automatically from your wallet, avoiding fulfillment interruptions.
- Credit Card: add a card to pay per order with no top-ups - the easiest way to keep your account on auto-approval.
With one store, choose your method in the Account Payment Methods tab. With multiple stores, scroll to the default-method section and assign a different payment method to each store.
Step 6: Go Live and Start Selling
Congratulations - you now know how to use Podbase like a pro. Your store is connected, your listings are published, and your settings are done. Your print-on-demand store is ready to go live.
Here is where the real work starts, and it is worth knowing where sales actually come from. Podbase's CMO, Vytautas Mikaila, is candid about it: “the majority, 99% of our sellers right now, are getting the majority of their traffic from social media ads,” while organic search has become “more of an advanced-player tactic.” So treat paid social - Instagram, TikTok, Pinterest - as your launch channel, and start promoting your products there. And do not go it alone: our data shows sellers with a community, mentor, or peer group scaled roughly 32% faster than solo operators, which is exactly what the Podbase Academy community is built for.
Want proof the model works? One seller our team tracked went from zero to seven-figure annual revenue in 13 months - launching with around ten designs and pushing hard into influencer marketing. Then start promoting your products and watch your business grow.
Also Read:
FAQ
1. What is Podbase?
Podbase is an all-in-one print-on-demand platform for custom tech accessories, phone and AirPods cases, wall art, drinkware, and other POD products. You upload a design, connect a Shopify or Etsy store, and Podbase handles production, quality control, and worldwide shipping with no upfront inventory to buy.
2. How does Podbase work?
You create a free account, set up a store, and integrate with Shopify or Etsy. You then design a product using Podbase templates, set a price, and publish with one click. When a customer orders, Podbase prints, quality-checks, and ships the product, charging your wallet or card automatically for hands-off fulfillment.
3. Is Podbase legit and reliable?
Yes. Podbase runs quality checks between every production stage and verifies color with a spectrophotometer, averaging about 23 hours of production-to-ship time. Sellers who migrated their top products saw a 15% rise in reviews and a 30% drop in order-issue tickets, and about 98% keep growing their order share after three months.
4. How much does it cost to start selling on Podbase?
Creating an account is free, and there is no inventory to buy - you only pay for products when customers order. To test the platform you can top up your wallet with at least €20, and Podbase Support will add an extra €20 toward your sample orders so you can check quality first.
5. How long does it take to set up a Podbase store?
Setting up a store and publishing a first product takes minutes, and a full new-project onboarding now takes under a month, down from the three months it used to take. Sellers who place a sample order within two days and publish five products within 30 days are already ahead of 80% of POD stores.
6. What profit margins can you make with Podbase?
Podbase pricing runs about 10-15% better margins than competitors across most categories, and up to 100% higher in some. For example, a phone case bought from Podbase at around €10 commonly sells for €35-60, and a checkout screen-protector add-on converts 3-10% of the time for roughly €10 extra profit per order.
7. Does Podbase integrate with Shopify and Etsy?
Yes. Podbase integrates directly with both Shopify and Etsy. You create a product in Podbase and use one-click publish to add it to your store, and orders sync automatically for hands-off fulfillment. Podbase also offers an Open API for custom storefronts, so you are not locked into a single sales channel.
Conclusion
Jump in and get started - and do not wait for perfect. This is the single most important mindset shift, and the data backs it up. Sidas again: “The sellers who succeed move fast and test first. They put three to five designs live, push their marketing hard on those specific products. Most successful stores are up and running within two weeks.” Concretely: place a sample order within your first two days and publish at least five products within 30 days, and you are already ahead of 80% of POD stores. Make ten sales and you are in the top 10%.
To recap how to use Podbase: create a free account and confirm your email; add contact and company details for invoices; create your store, choose an order-approval method, and integrate with Shopify or Etsy for automatic syncing; design your products using templates with high-resolution CMYK files; set your price and add AOV boosters; set up payments via Wallet or card; then launch and promote. If you hit a bump, reach the team at support@podbase.com or create your free account and start today.

Saulius Meilutis is the CEO of Podbase, helping creators and entrepreneurs monetize their ideas with print-on-demand. He shares insights on eCommerce, growth, and building lean online businesses.

.avif)

.avif)


.avif)
.avif)
.avif)
.avif)
.avif)
.avif)


.avif)
.avif)

.avif)


.avif)
.avif)